

Connect Aircall
Connect your Aircall company and the calls your team makes and takes in Aircall appear in Replyco, each linked to the customer who called, so you can follow a call up with their tickets. Replyco connects through Aircall’s own sign-in: you approve Replyco’s access in Aircall, and you need no API ID or API token. You keep phoning in Aircall as before; Replyco shows and follows up the calls, it does not make or take them.
Before you start
Section titled “Before you start”| You need | Where it lives |
|---|---|
| The Admin permission in Replyco | AdminUsers; see Invite users and set what they can do |
| An Aircall login with admin rights for your Aircall company | Aircall Dashboard |
| A free account on your plan | AdminBilling; see Billing |
Availability: every plan. The Aircall tile appears for companies with the Calls feature, which every plan includes; the Calls menu needs the Calls permission for each user. See What each plan includes and User permissions and roles.
-
Select + Add Account in the top bar and scroll down to Social Media and Phone Accounts.
The Add Account page lists every channel Replyco connects; to connect another one, see Add Account.
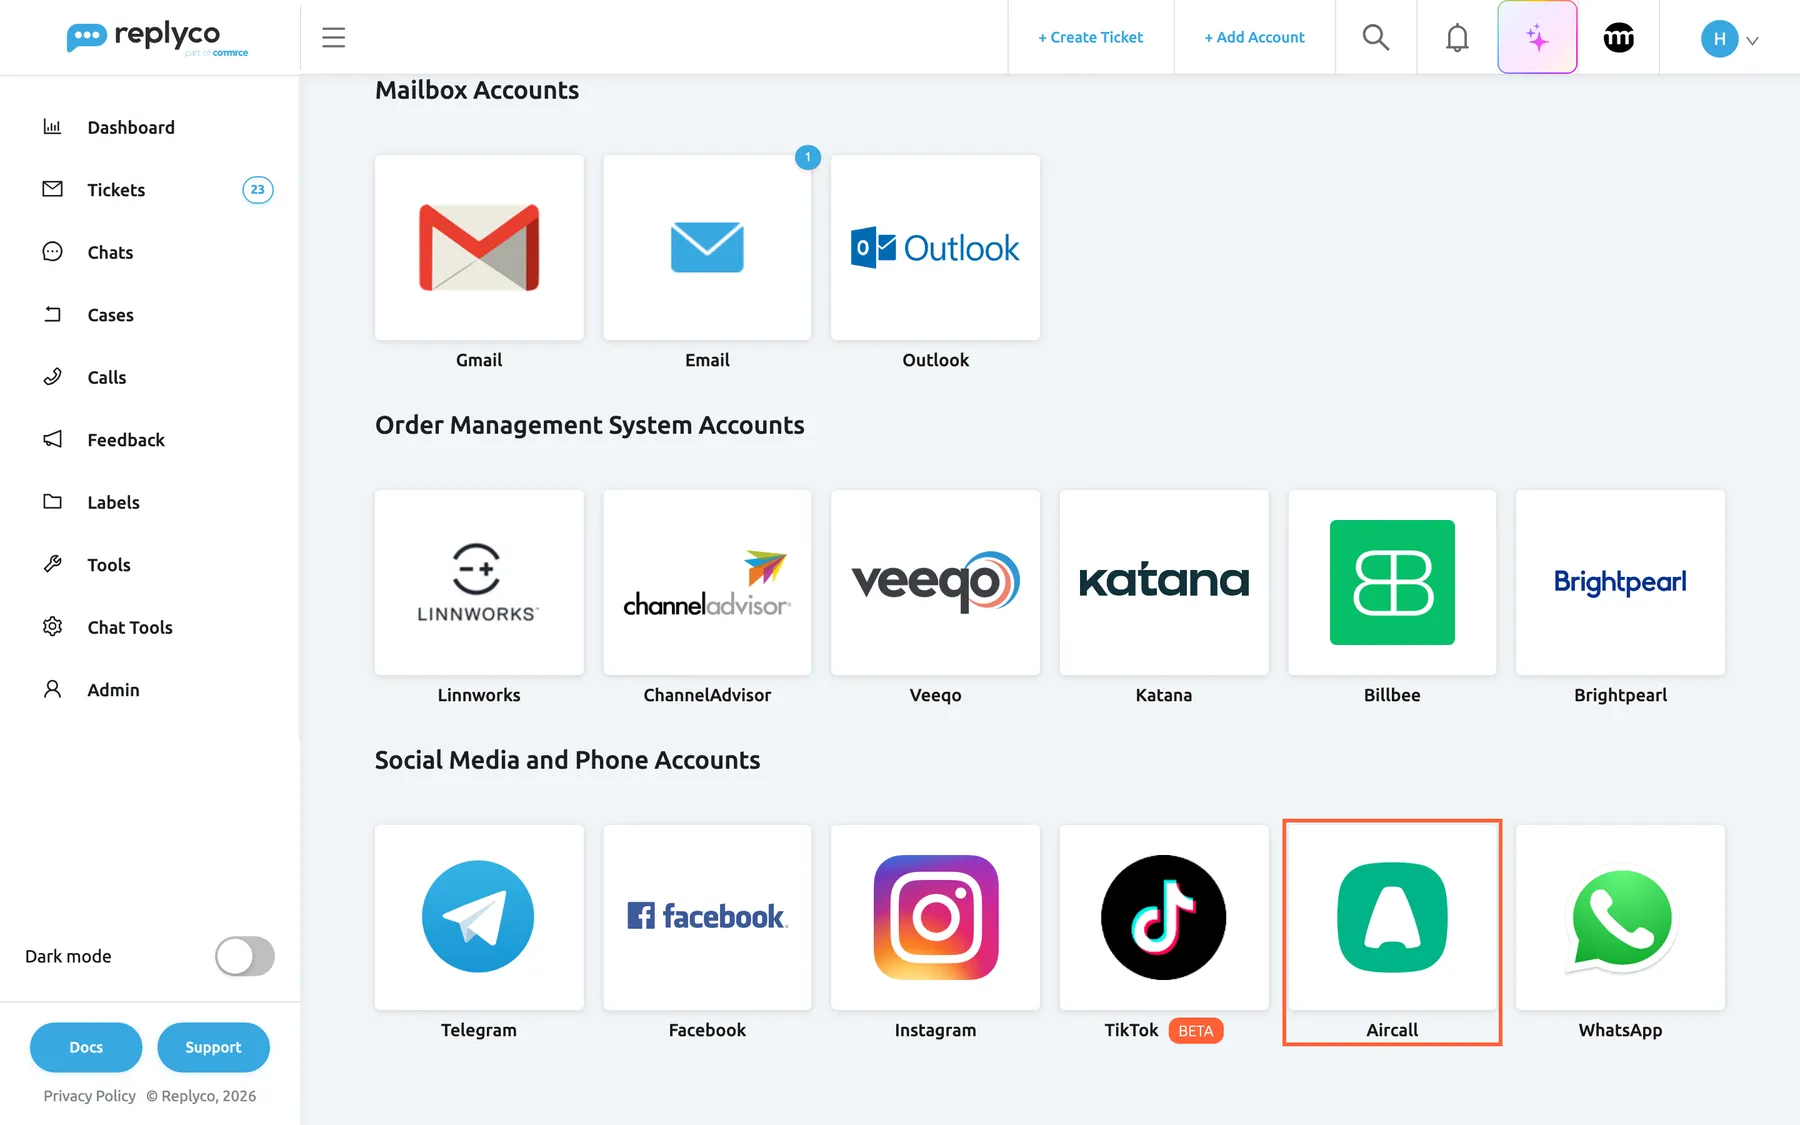
Aircall is the phone system under Social Media and Phone Accounts. What this screenshot shows
- Screen
- Add Account (/integrations/add)
- Highlighted
- button “”, social-media-and-phone-tiles, enabled. opens the Aircall connect dialog
- Also visible
- Mailbox Accounts and Order Management System Accounts above; Telegram, Facebook, Instagram, TikTok (BETA), Aircall, WhatsApp tiles
- Purpose
- start connecting Aircall
-
Select the Aircall tile. The dialog Authorize Replyco to sync with Aircall opens at its first step, AUTHORIZE. Select Authorize.
Aircall’s sign-in opens in a new browser tab. The dialog in the tab you started from moves on to FINISH.
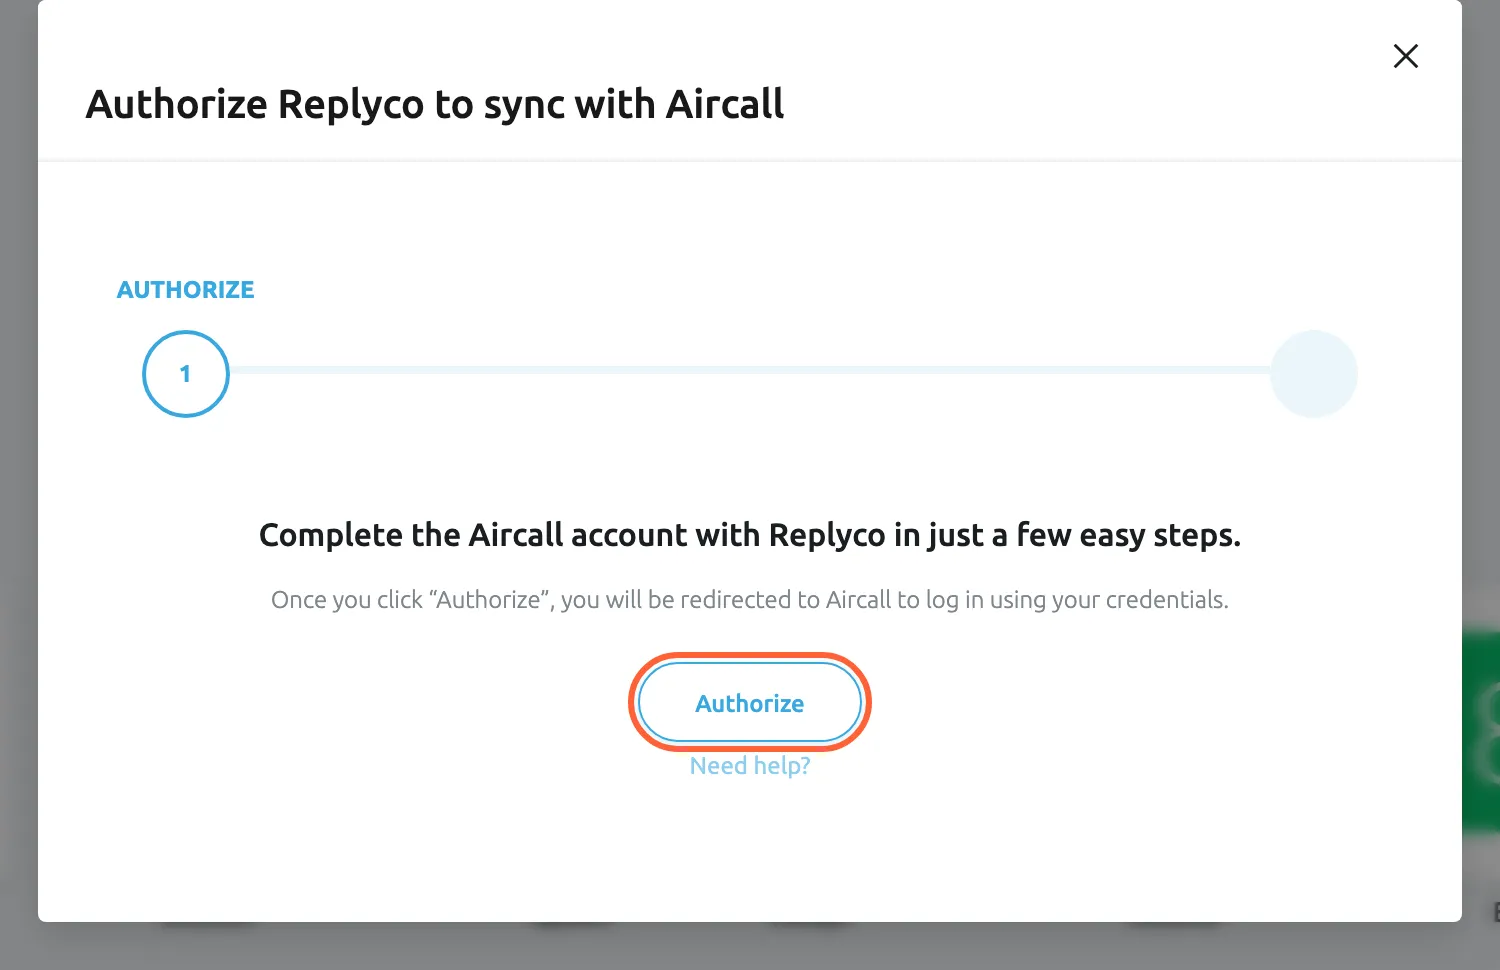
Authorize opens Aircall's sign-in in a new tab; no API key is needed. What this screenshot shows
- Screen
- Authorize Replyco to sync with {{name}} (/integrations/add)
- Highlighted
- button “Authorize”, dialog-centre, enabled. opens Aircall's OAuth sign-in in a new tab
- Also visible
- step AUTHORIZE of two; Need help? link
- Purpose
- start the Aircall sign-in
-
In the Aircall tab, sign in with your Aircall admin login.
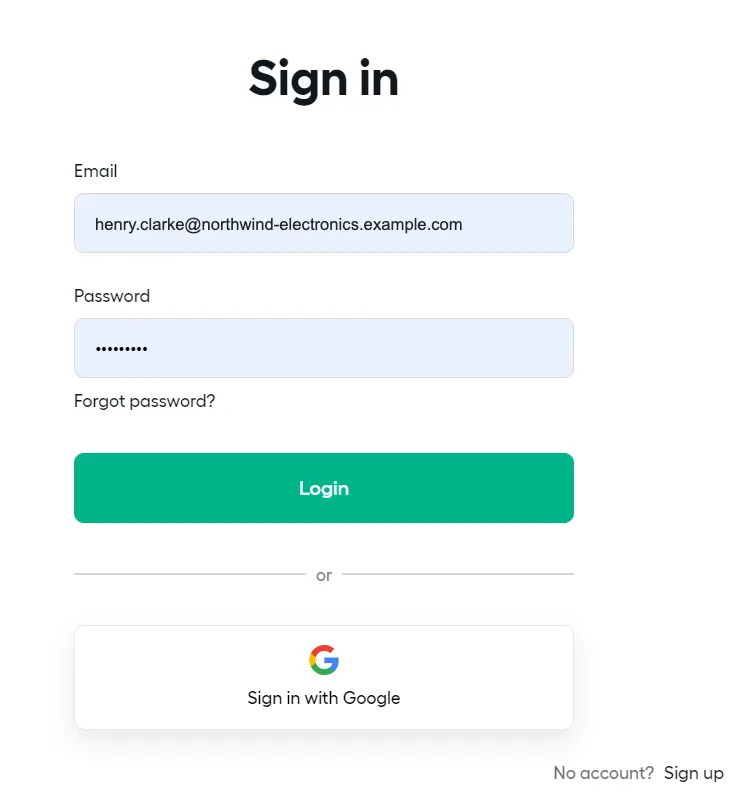
Sign in to Aircall with an admin login for your Aircall company. What this screenshot shows
- Screen
- ()
- Highlighted
- “”, , .
- Also visible
- Email; Password; Forgot password?; Login; Sign in with Google
- Purpose
Approve Replyco’s access to your Aircall company with “Authorize”.
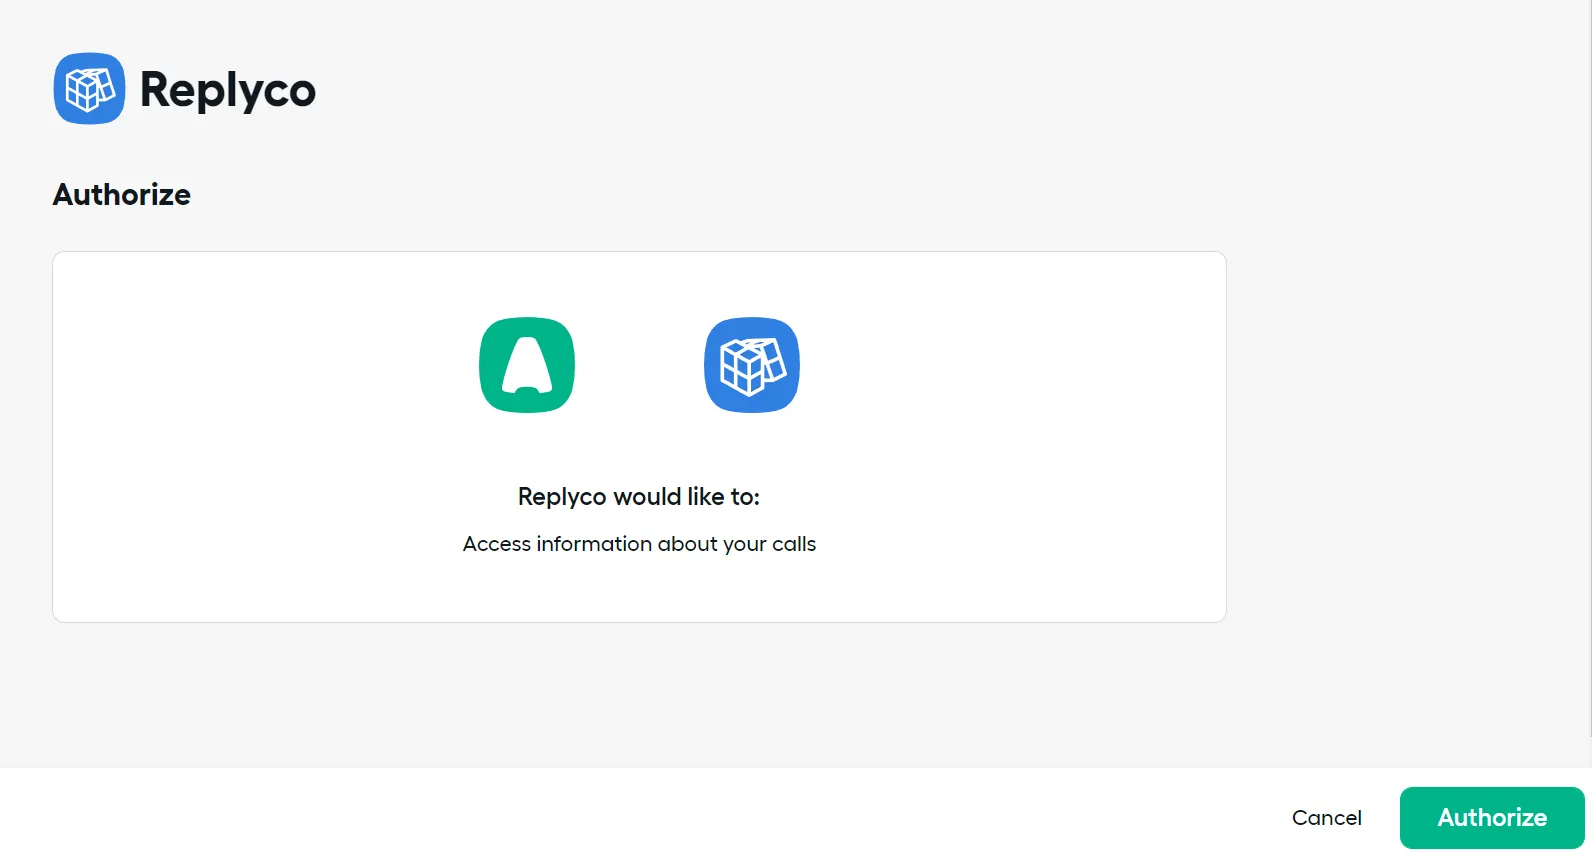
Select "Authorize" to let Replyco access information about your calls. What this screenshot shows
- Screen
- ()
- Highlighted
- “”, , .
- Also visible
- Aircall and app icons; Access information about your calls; Cancel; Authorize
- Purpose
If Aircall asks which phone numbers to integrate, select “Add numbers”, choose the numbers whose calls your team should see in Replyco and confirm with “Add numbers”.
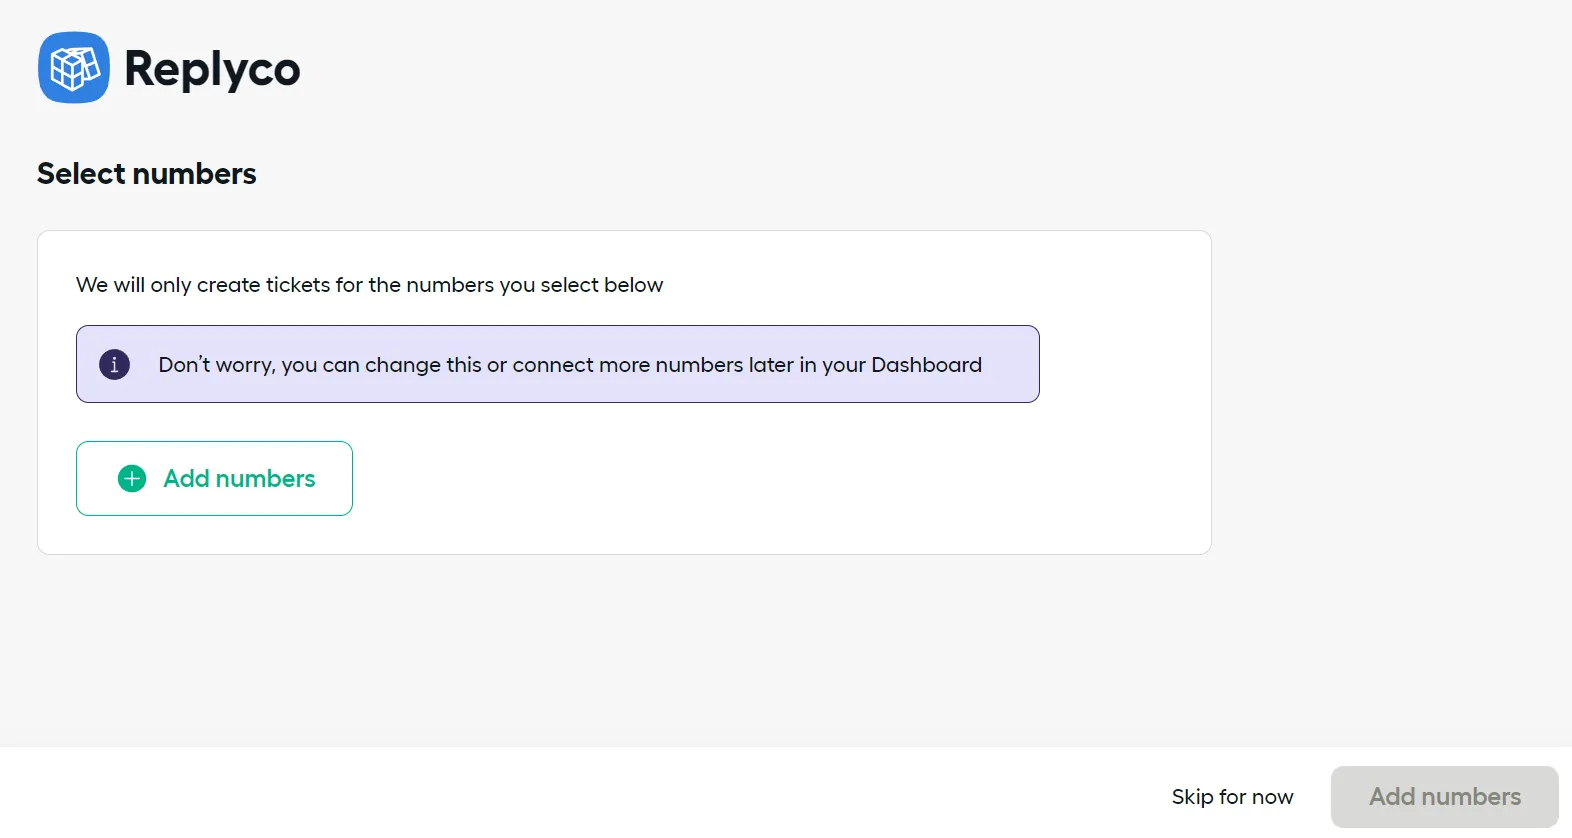
Choose the Aircall numbers whose calls your team should see in Replyco. What this screenshot shows
- Screen
- ()
- Highlighted
- “”, , .
- Also visible
- We will only create tickets for the numbers you select below; Add numbers; Skip for now; Add numbers (greyed out)
- Purpose
-
Aircall returns you to Replyco in the same tab, which shows Validating Aircall account... and Please do not leave the page until the validation and data storage is complete...almost there. Replyco saves the account, sets Aircall up to report each call to Replyco, confirms with Account successfully saved. and opens the home page.
-
In the tab you started from, select Finish to close the dialog.
What happens next
Section titled “What happens next”The account appears on AdminAccounts under your company’s name in Aircall; to check it or rename it, see Accounts. One Aircall company connects once: a second connection of the same company is refused.
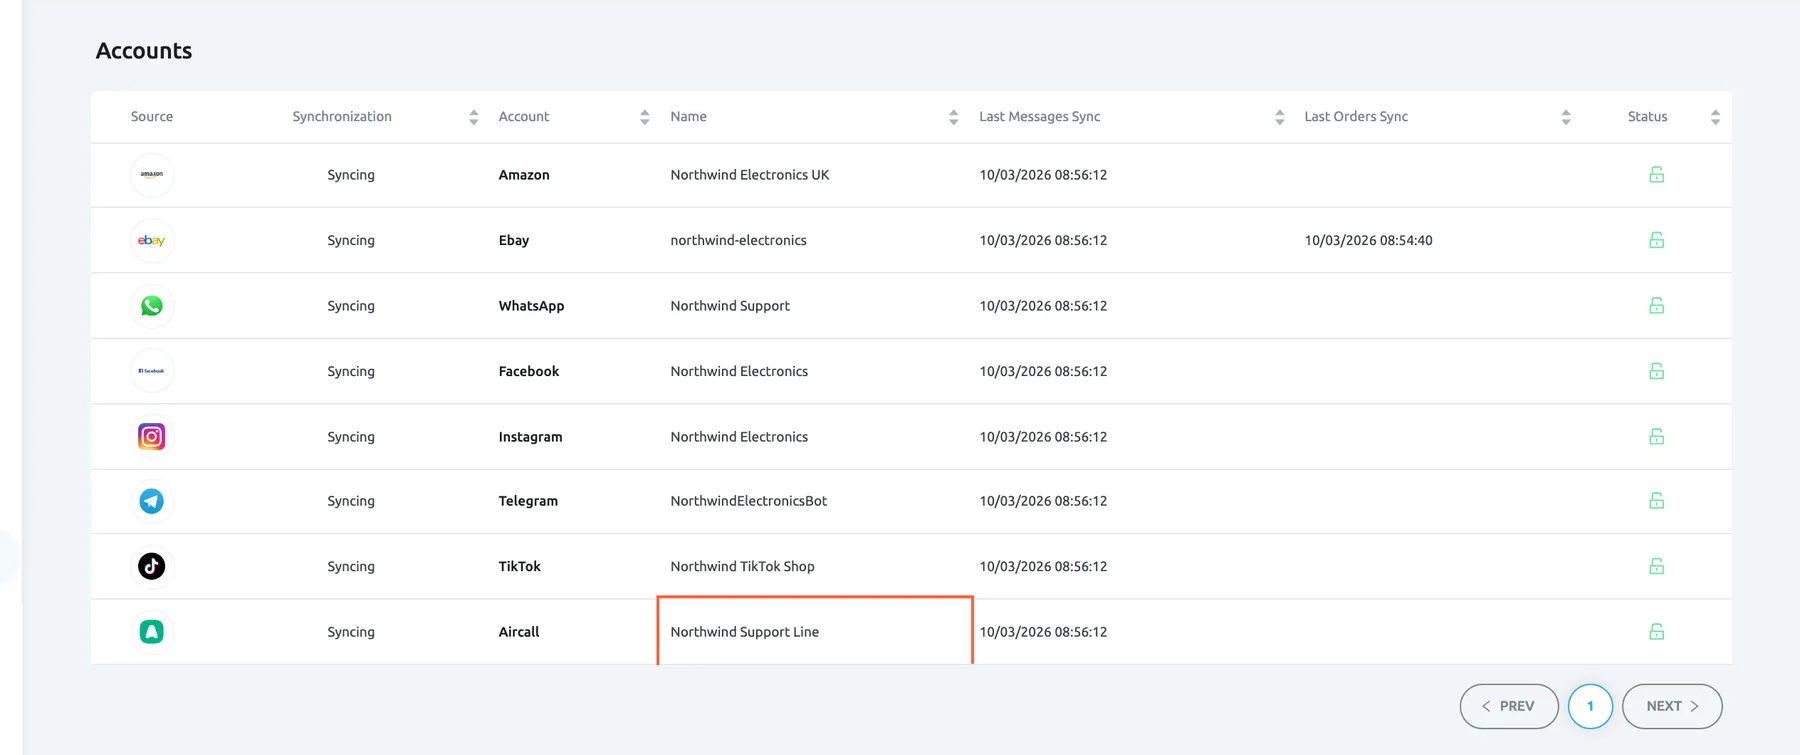
What this screenshot shows
- Screen
- Accounts (/integrations)
- Highlighted
- cell “”, table-eighth-row, enabled. opens the account's details
- Also visible
- 8 accounts, all Syncing, green open locks; Aircall row Northwind Support Line
- Purpose
- check that Aircall was connected
From now on, Aircall reports each new call to Replyco as it starts, and again when it is answered, ended, tagged or commented on; every three hours Replyco also imports recent calls, which fills any gap. The calls appear under Calls, newest first; see Calls and Call list.
If Aircall stops accepting Replyco’s access, for example because the Replyco integration was removed in Aircall, the account needs a new sign-in: open it on AdminAccounts and select Re-login; see Fix a blocked or silent account. Deleting the Aircall account in Replyco deletes its calls from Replyco; they stay in Aircall.
If something goes wrong
Section titled “If something goes wrong”| Symptom | Check | Fix |
|---|---|---|
| “Error happened during integration activating” | Aircall did not confirm Replyco’s access. | Start again from the Aircall tile and approve the access with an Aircall admin login. |
| “Integration with this name already exists” | This Aircall company is already connected. | Use the existing account on AdminAccounts; if it no longer brings in calls, select Re-login there. |
| Aircall returned you to the home page and no account was added | You cancelled in Aircall. | Start again from the Aircall tile and approve the access. |
| There is no Aircall tile under Social Media and Phone Accounts | Your company is on an older plan without the Calls feature; every current plan includes it. | Check your subscription on AdminBilling; see What each plan includes. |
| “You reached your current plan maximum integrations count. Contact support for more info.” | Your plan has no free account; + Add Account is then also missing from the top bar. | Delete an account you no longer use, or change your plan on AdminBilling. |