

Answer a ticket
Reply to a customer from the ticket screen and Replyco sends your answer back through the channel the message came from: the marketplace’s messaging system, the mailbox or the messenger. You can start from a template, attach files, translate your reply into the customer’s language, and send it now or later. Afterwards the ticket can be resolved or archived in the same step.
Before you start
Section titled “Before you start”| You need | Where it lives |
|---|---|
| A ticket in one of your lists | TicketsNot Resolved |
| Templates, if you want to start from one | ToolsAutomation, tab Templates |
| Your defaults for resolving and archiving after a reply | Account Settings: Resolve Tickets After Reply, Archive Tickets After Reply |
Availability: every plan includes everything on this page: AI drafts, translation, snippets, templates per channel, draft saving and seeing who else has the ticket open. Companies on an older plan may not have some of these; see What each plan includes.
-
Open the ticket from a list, for example TicketsNot Resolved, and select Respond in the top right corner of the ticket.
The reply editor opens below the customer’s messages, addressed to the customer next to Send to:. If you saved a draft on this ticket earlier, the editor opens by itself with the draft in it. If your company uses AI drafts, the editor opens with a reply already written under AI Suggested Response: edit it and send it with Accept & Send, or select Reject to write your own. Replyco switches AI drafts on for your company; to see which messages get a draft and to tell the AI how to write, see AI drafts.
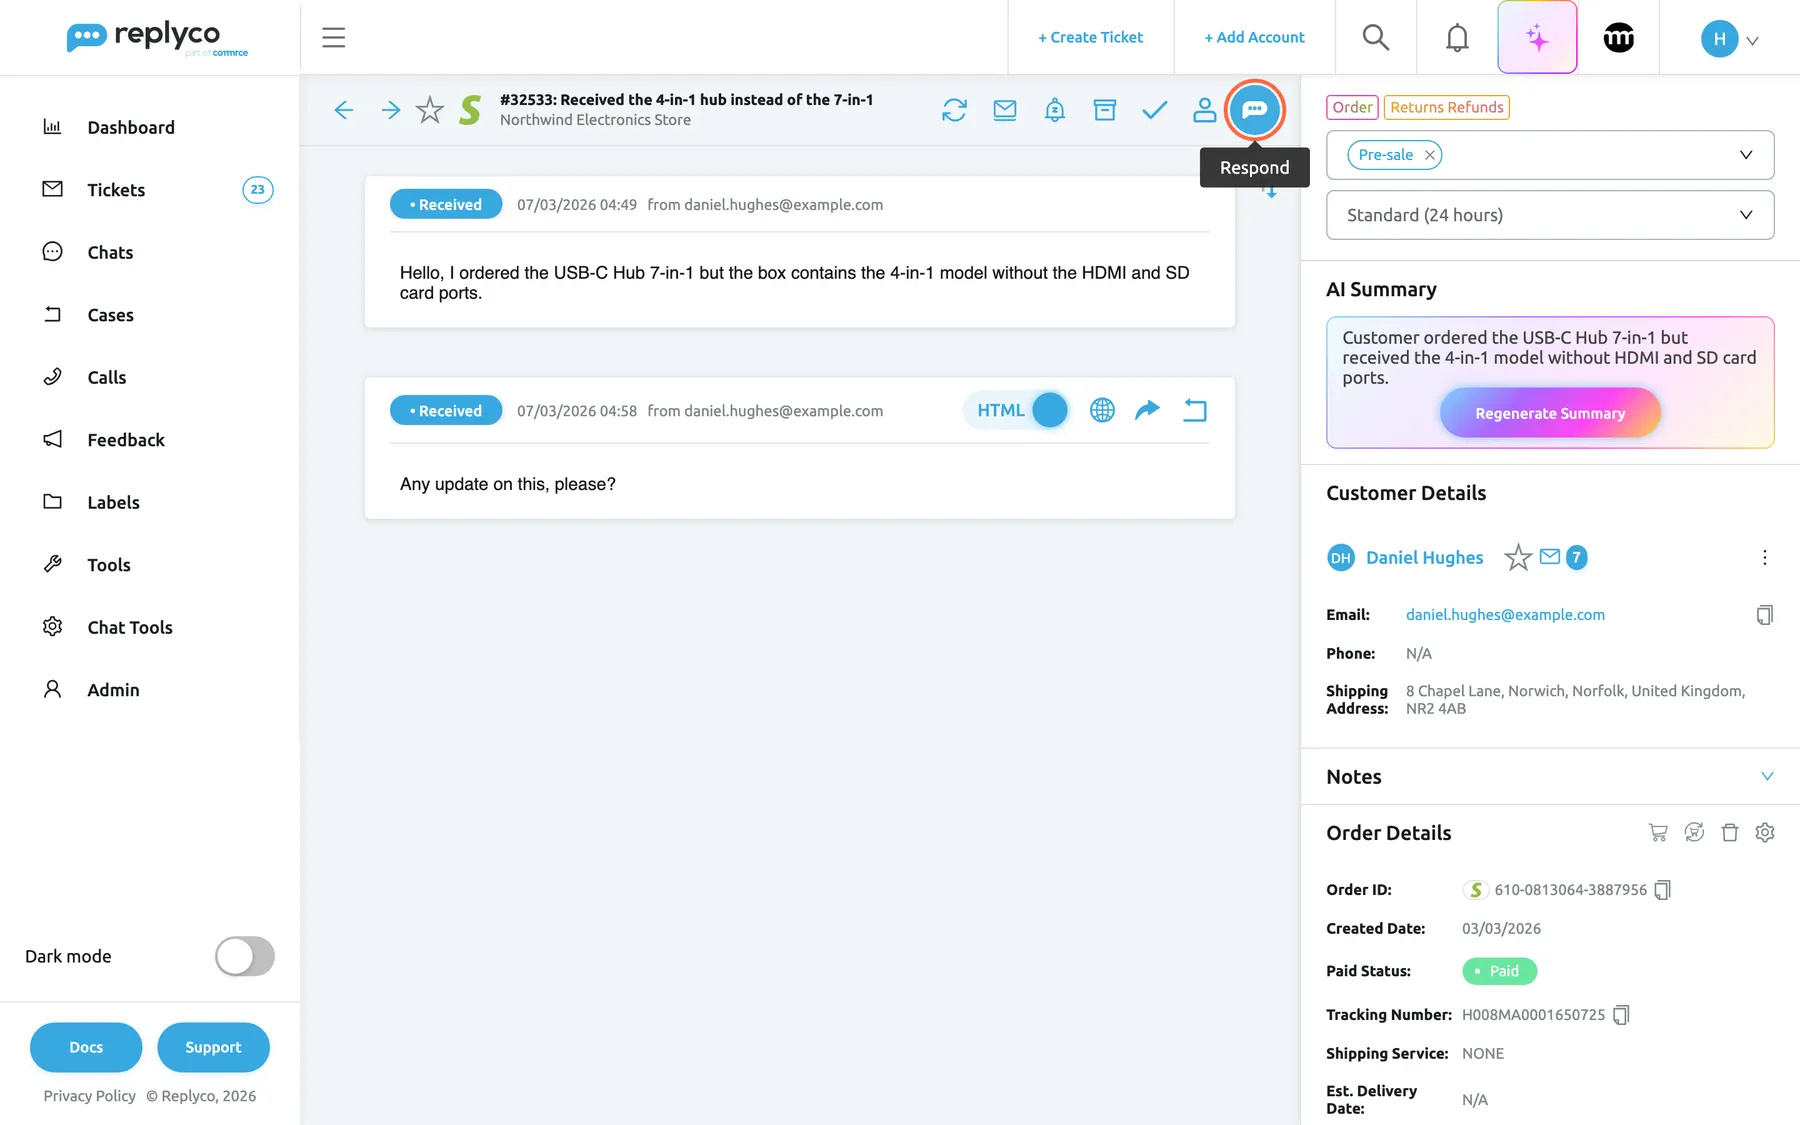
The round blue icon at the right end of the ticket's action row opens the reply editor. What this screenshot shows
- Screen
- Respond (/ticket/:threadId)
- Highlighted
- button “Respond”, ticket-header-right, enabled. opens the reply editor
- Also visible
- customer messages in the conversation; Customer Details and Order Details panels on the right; action icons: refresh, read status, snooze, archive, resolve, assign
- Purpose
- first step of answering a ticket
-
(Optional) Pick a template from Template above the text box.
The template’s text replaces the text box. Placeholders such as
#customer_first_name#stay as written in the editor; Replyco fills them in when the reply is sent, and Preview shows the result. The list offers only the switched-on templates linked to the ticket’s account, so a template without accounts never appears here. To write templates, change them or limit them to a channel, see Reply templates and the Templates screen.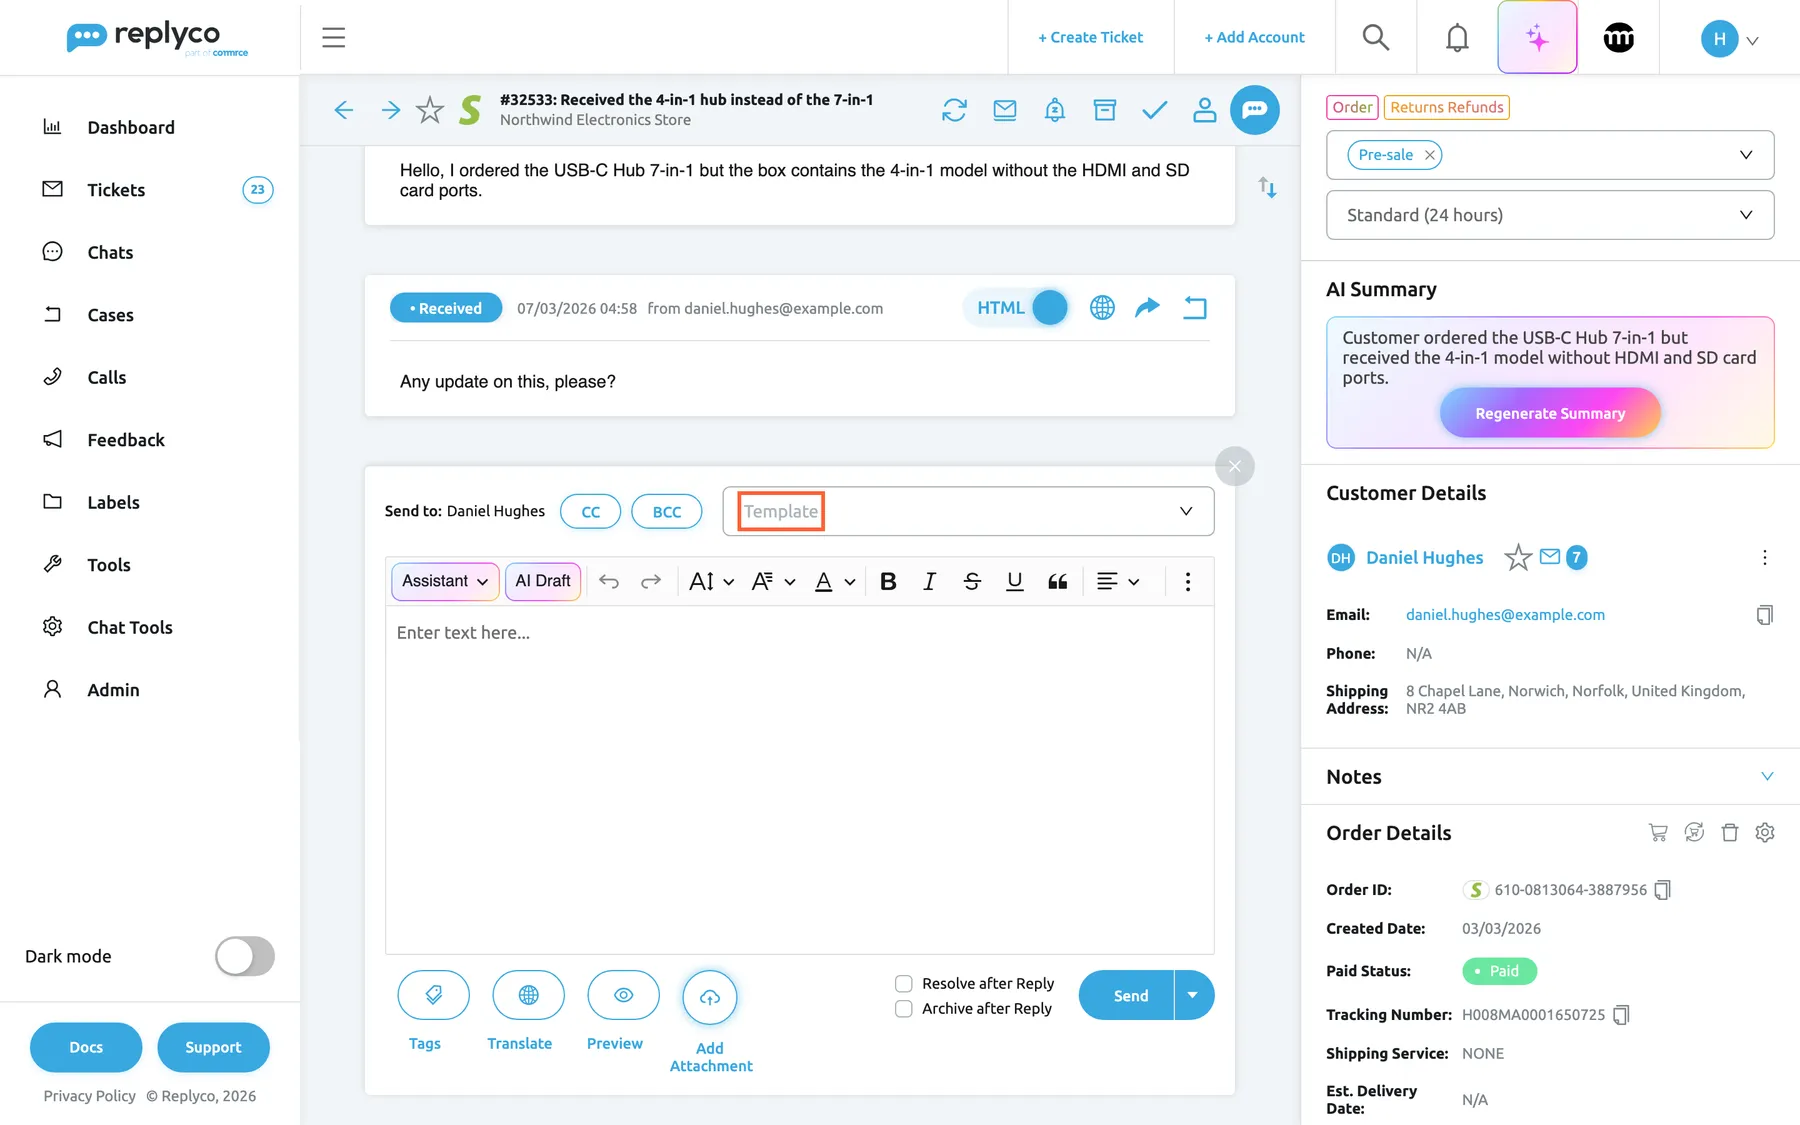
Pick a template above the text box to start from a prepared answer. What this screenshot shows
- Screen
- Respond (/ticket/:threadId)
- Highlighted
- combobox “Template”, editor-top, empty. lists the templates for this channel
- Also visible
- Send to with the customer's name; CC and BCC buttons; formatting toolbar; Tags, Translate, Preview, Add Attachment; Resolve after Reply and Archive after Reply check boxes
- Purpose
- start a reply from a template
-
Write or edit your reply in the text box.
Type
/to insert a snippet and#to insert a placeholder; to set them up, see Snippets and placeholders. Your signature for this account is added automatically; you write it on the Account Signatures tab of your account settings. Use Add Attachment to attach files, and Preview to see the message as the customer will receive it. -
(Optional) Select Translate to translate your reply into the customer’s language before you send it. To have incoming messages translated as well, see Translations.
-
Choose what happens to the ticket after you send: tick Resolve after Reply, Archive after Reply, both or neither.
The boxes start ticked or unticked according to your account settings.
-
Select Send, or select the arrow next to it and choose Choose Delaying Time to send later.
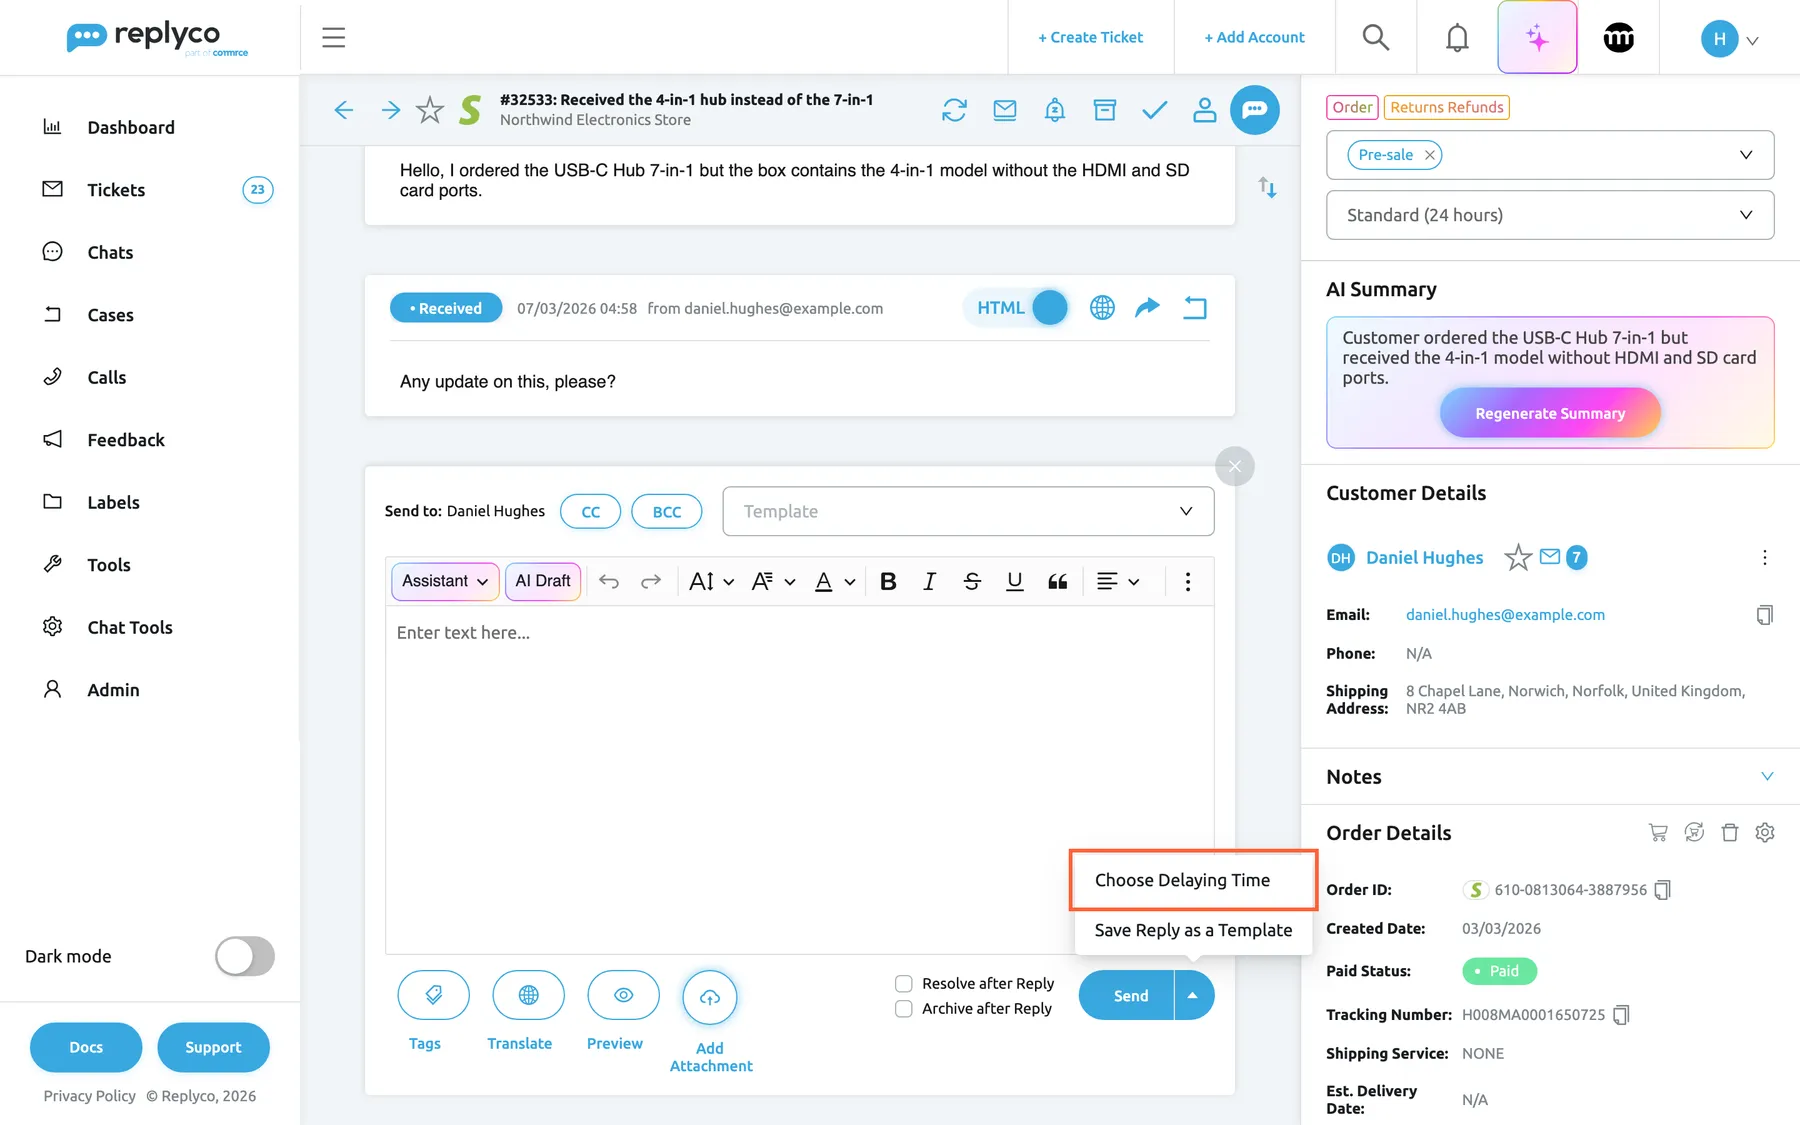
The arrow next to Send offers a delayed send and saving the reply as a template. What this screenshot shows
- Screen
- Respond (/ticket/:threadId)
- Highlighted
- option “Choose Delaying Time”, editor-bottom-right, enabled. opens the delay dialog
- Also visible
- Send button with an arrow; menu: Choose Delaying Time, Save Reply as a Template; Resolve after Reply and Archive after Reply check boxes
- Purpose
- send now or later
What happens next
Section titled “What happens next”Replyco sends the reply through the ticket’s channel and adds it to the conversation. A short confirmation appears, and the ticket is resolved or archived if you ticked those boxes. If your company uses Auto-assign on Reply and nobody was assigned to the ticket, the ticket is now assigned to you; see Auto-assign on reply.
A delayed reply waits in the ticket with Sending is scheduled for and the time; until then you can select Send now or Cancel. The ticket also appears in TicketsDelayed. When a delay is set as your default, the button reads Send with Delay and every reply waits that long. The default delay is set in your account settings; see Delayed sending.
Options
Section titled “Options”| Choice | When to pick it | Effect |
|---|---|---|
| Choose Delaying Time | You want a moment to take the reply back, or the customer should receive it during their daytime | Sends after a number of minutes (up to 9999) or at a date and time you pick |
| Save Reply as a Template | You wrote an answer you will need again | Saves the text as a new template |
| CC and BCC | An email ticket where a colleague or supplier should get a copy | Adds copy recipients; not available on eBay |
| AI Draft | You want a first version to edit | Writes a reply from a short description of what you want to say; see AI drafts |
If something goes wrong
Section titled “If something goes wrong”| Symptom | Check | Fix |
|---|---|---|
| There is no Respond button | Amazon, eBay, Etsy, Fruugo and Kaufland decide per message whether a reply is possible. Notifications, Etsy messages that arrive as email notices and closed Kaufland tickets cannot be answered. | Answer the customer in the marketplace itself. |
| Sorry, you cannot send an empty message. :( | The text box is empty. | Write the reply, then send. |
| The message can't exceed 6 MB (including attachments)., or You have uploaded too many files. Ebay limit is 5 files. | eBay takes up to 5 images per message; Amazon takes up to 6 MB of attachments per message. | Send fewer or smaller files, or share a link. |
| Send stays disabled on an eBay ticket | eBay messages are limited to 4000 characters; the counter under the text box shows how many you used. | Shorten the reply. |
| You see a colleague’s name with is reading this ticket. | Someone else has this ticket open. | Agree who answers before you both reply. |