

Webstores
Connect your online store and the emails your customers send to it arrive in Replyco as tickets, next to your marketplace messages, with the store’s orders imported alongside. Replyco connects five webstore platforms: Shopify, WooCommerce, BigCommerce, Magento 2 and Shopline. Each store is one account in Replyco, and its name labels every ticket it brings in, so your team sees at a glance which store a customer wrote to.
A webstore connection has two parts. The store connection gives Replyco read access to your orders, products and customers: Shopify and Shopline ask you to approve Replyco in the store, while WooCommerce, BigCommerce and Magento take API credentials you create in the store’s admin. The email connection brings in your customers’ messages: Replyco creates an address for the account, and every email you forward to it becomes a ticket; your replies go out by email from your own address. Every store starts from + Add Account in the top bar. To connect a marketplace instead, see Marketplaces; for a plain mailbox, see Mailboxes.
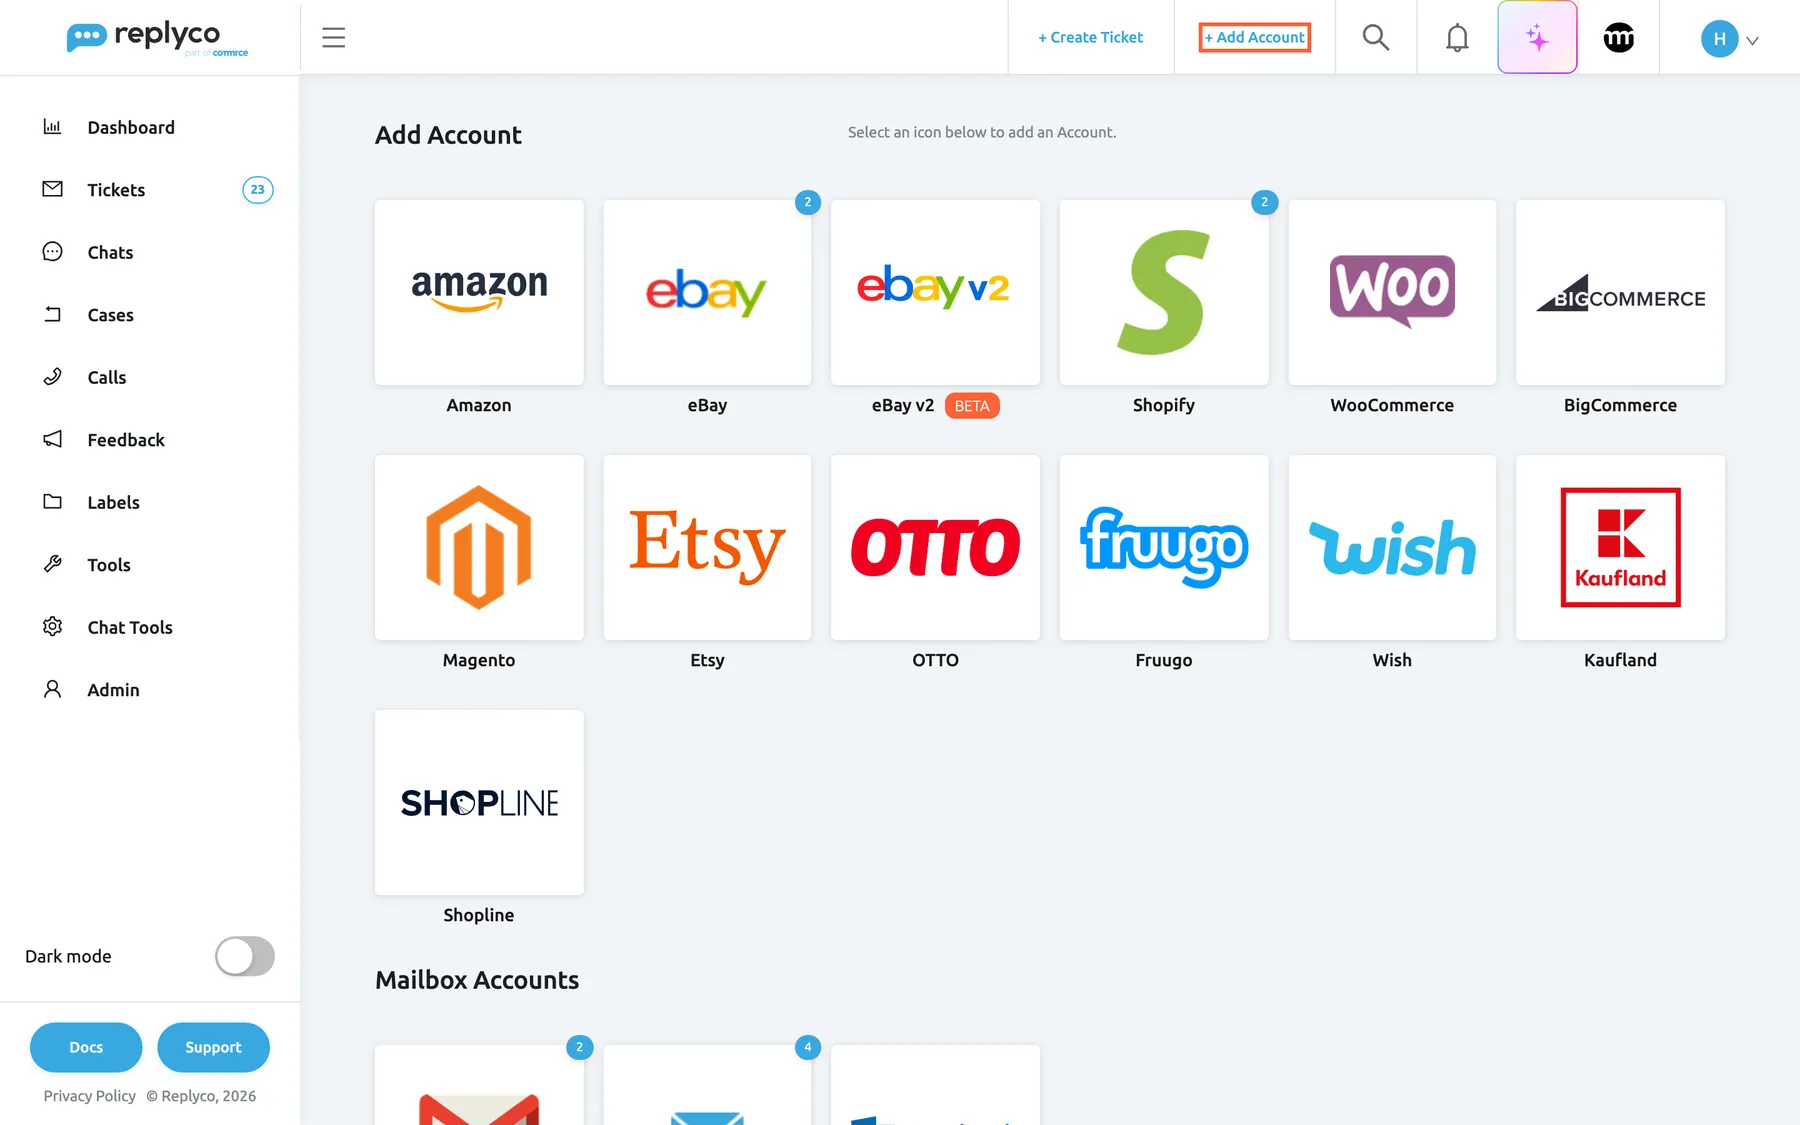
What this screenshot shows
- Screen
- Add Account (/integrations/add)
- Highlighted
- link “+ Add Account”, top-bar-right, enabled. opens the Add Account page
- Also visible
- marketplace and webstore tiles: Shopify, WooCommerce, BigCommerce, Magento, Shopline among them; Mailbox Accounts heading below
- Purpose
- where every webstore connection starts
The screens in this area
Section titled “The screens in this area”| Screen | What it is for |
|---|---|
| Add Account | One tile per marketplace, webstore, mailbox, order-management system and messenger; each tile starts its connect steps |
| Accounts | Every connected store with its sync status; open one to copy its Replyco address, set up domain authentication, change its keys or log in again |
| Orders | The orders Replyco imported from your stores |
The webstores
Section titled “The webstores”| Store | How it connects | What Replyco asks for | Guide |
|---|---|---|---|
| Shopify | The Replyco app from the Shopify App Store, installed on your store | Read access to customers, orders, draft orders and products | Connect Shopify |
| WooCommerce | A REST API key of your store and the store’s address | A key that can read orders, products and customers | Connect WooCommerce |
| BigCommerce | The credentials and API path of a BigCommerce API account | An API account that can read orders, products and customers | Connect BigCommerce |
| Magento | An access token and the store’s address; Replyco checks both before it saves | A token that can read orders, products and customers | Connect Magento |
| Shopline | Approval in your Shopline store admin, at your store’s address | Read access to orders, pages, customers, inventory and products | Connect Shopline |
What you can do here
Section titled “What you can do here”- Connect a store from its tile on the Add Account page; the guides in the table above walk through each one. Add Account.
- Bring in your customers’ emails by forwarding them from your support address to the address Replyco creates for the store. Mailbox by forwarding.
- Get your replies delivered to strict recipients such as Gmail and Microsoft by authenticating your domain with DKIM in the account’s Email settings. Mailbox by forwarding.
- Read and send through your own mailbox instead, with Custom SMTP Configuration when you connect the store. Mailbox with IMAP and SMTP.
- See the customer’s order beside the ticket and every imported order in one list. Orders.
- Bring a blocked or silent store back when a store stops accepting Replyco’s access or no emails arrive. Fix a blocked or silent account.
Concepts
Section titled “Concepts”- The Replyco address. Unless you connect your own mailbox with Custom SMTP Configuration, Replyco creates a mailbox for each store account; only the emails that reach it become tickets, and emails from before you set up forwarding are not imported. Mailbox by forwarding explains how forwarding and domain authentication work.
- The sender address. Your replies go out from the Display Email address you enter when you connect the store, usually your store’s support address, so customers answer you there.
Availability: every plan includes every store and its orders; connecting a store needs the Admin permission, and each connected store counts towards your plan’s number of accounts. Companies on an older plan may not have order sync; see What each plan includes.