

Complete the onboarding checklist
When you start with Replyco, an onboarding checklist leads you through the six things that make it ready for real customer messages: your company profile, your first connected account, a short tour of the product, a reply template, a rule and an auto-response. Each step opens the screen where you do it, and a step counts as done when you have actually done it in Replyco, or when you skip it. The checklist and its progress bar stay in the sidebar until all six steps are done.
Before you start
Section titled “Before you start”| You need | Where it lives |
|---|---|
| Your company’s name, address and billing address | AdminCompany Settings, tab Address; see Company Settings |
| The Admin permission to connect an account, and the Admin permission with Edit rights to fill in the company profile on AdminCompany Settings | AdminUsers; see Invite users and set what they can do |
| Sign-in details for the first channel you connect, such as your marketplace seller account or mailbox | The channel itself; see Accounts and integrations |
| Access to ToolsAutomation for the template, the rule and the auto-response | Set per user by an admin; see User permissions and roles |
Availability: every plan includes the checklist and every step on it. Companies on an older plan may not have auto-responses and then skip the last step; see What each plan includes. Each user has their own checklist; only the company profile step is shared, because it reads the company’s details.
-
Start onboarding in the welcome window.
The first time you open Replyco, a window greets you by your first name. Select Let's get started: Replyco opens the page for adding an account and, on the right, the checklist. Skip does the same and also marks the tour as done, so it does not start later.
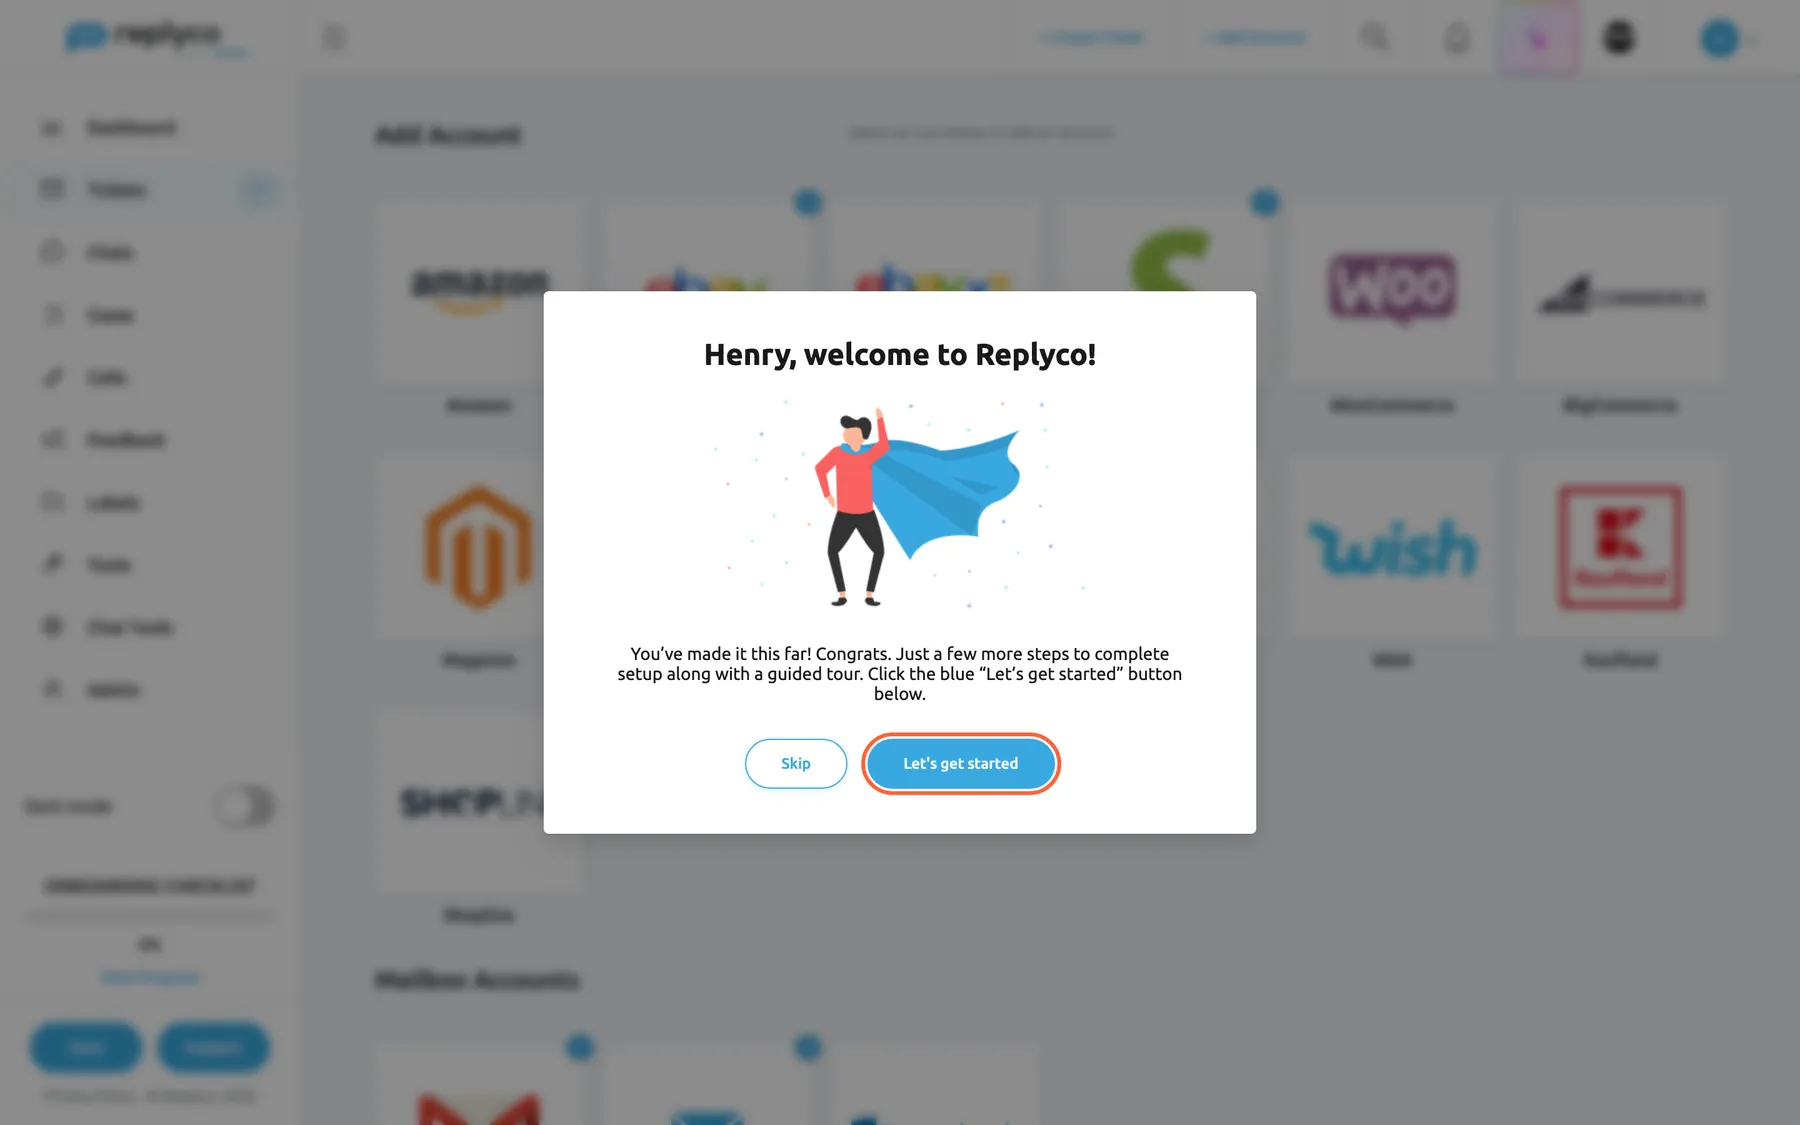
A new user starts onboarding from the welcome window; Skip starts it too but marks the tour as done. What this screenshot shows
- Screen
- Add Account (/)
- Highlighted
- button “Let's get started”, centre-dialog, enabled. starts the checklist
- Also visible
- greeting with the user's first name; Skip button; Add Account page blurred behind; checklist progress 0% in the sidebar
- Purpose
- first contact with onboarding
-
Open the checklist whenever you need it.
Below the menu in the sidebar, the block ONBOARDING CHECKLIST shows how far you are, from 0 % to 100 % in steps of one sixth. Select View Progress to open the checklist; the same entry is in the user menu under your avatar, even after you have finished.
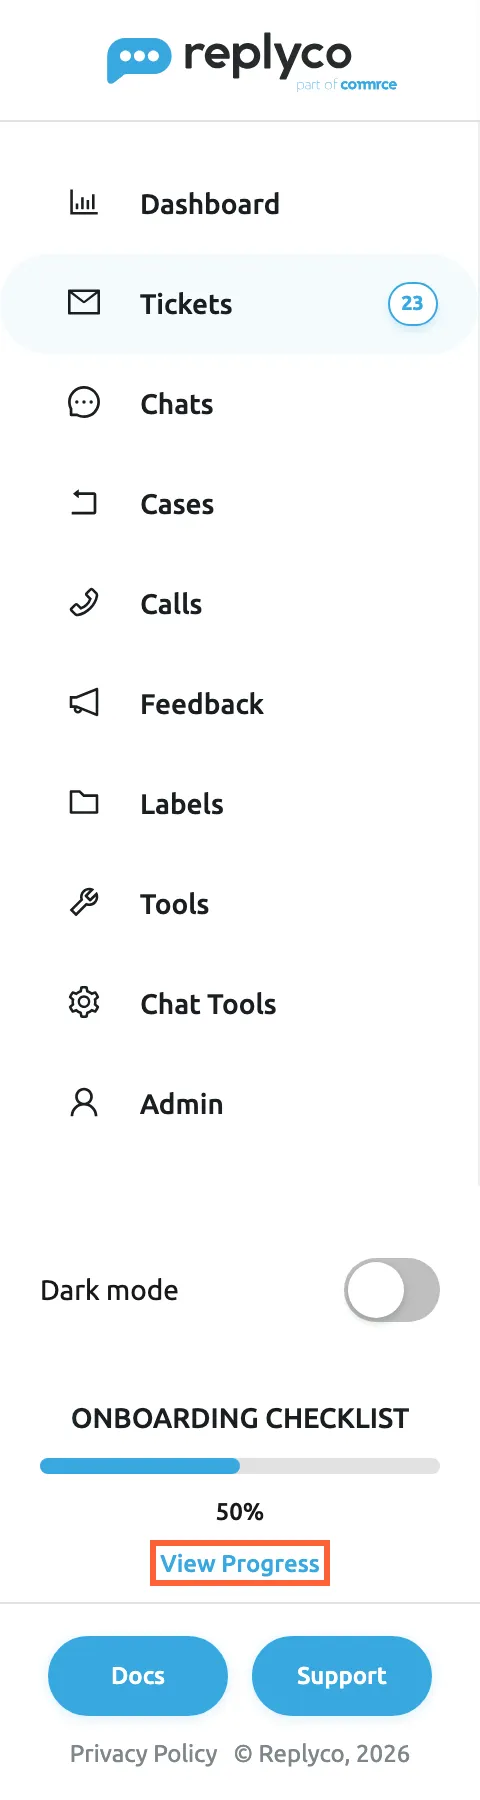
Until the checklist is complete, the sidebar shows your progress; View Progress opens the checklist. What this screenshot shows
- Screen
- Smart Filters (/)
- Highlighted
- link “View Progress”, sidebar-lower, enabled. opens the onboarding checklist drawer
- Also visible
- ONBOARDING CHECKLIST heading; progress bar at 50%; Dark mode switch above; Docs and Support below
- Purpose
- where the checklist lives after the first day
The checklist, titled Let's get started!, starts with an overview video and lists the six steps. Done steps are green with a tick; open steps are grey with a plus. Select an open step to go to the screen where you complete it.
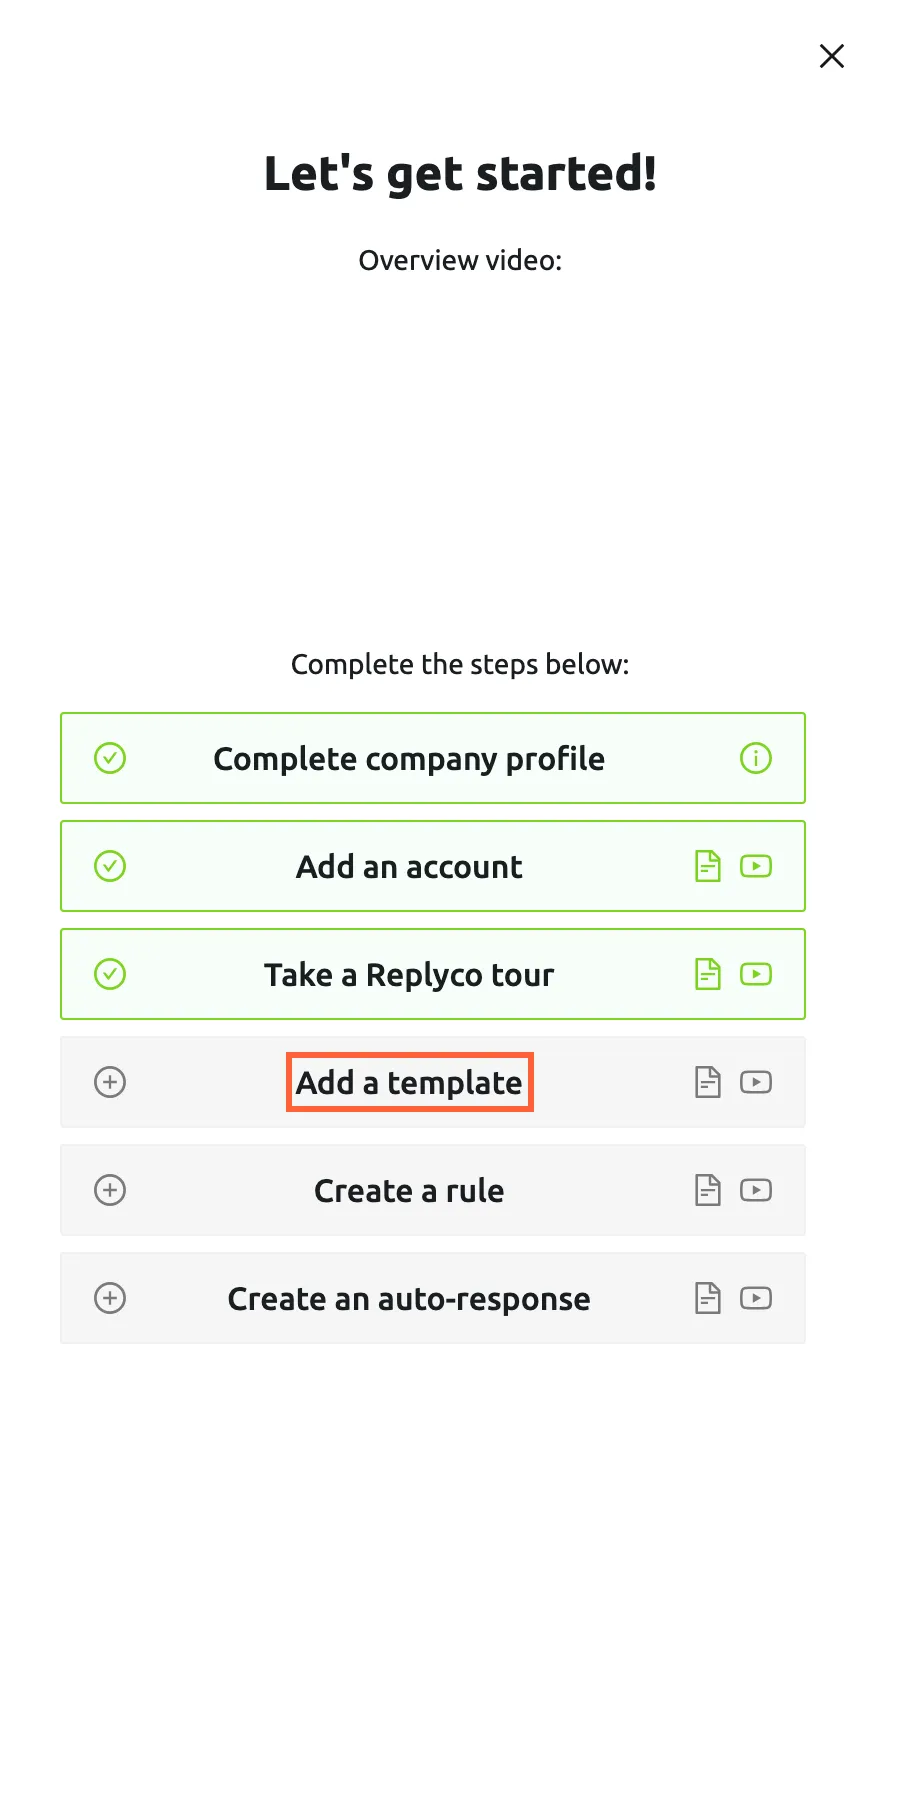
Done steps turn green; select an open step to go straight to the screen where you complete it. What this screenshot shows
- Screen
- Let's get started! (/)
- Highlighted
- button “Add a template”, drawer-right, open. opens Tools › Automation on the Templates tab
- Also visible
- three done steps in green; three open steps in grey; page and video icons per step; information icon on the company profile step; close cross top right
- Purpose
- the checklist and what each step opens
-
Complete your company profile with Complete company profile.
Select the step: Replyco opens AdminCompany Settings. Fill in Company Name on the first tab, then on the Address tab the street, city and country, and either a billing address or the box Use as Billing Address. Select Save on each tab you changed. The information icon on the step says the same: To complete this step, add your Company Name and Address & Billing Address under Admin > Company Settings. This step cannot be skipped; it turns green as soon as the details are saved, for everyone in your company. To fill in each field, see Company Settings.
-
Connect your first account with Add an account.
Select the step, or + Add Account in the top bar, and choose your marketplace, webstore, mailbox or messenger. The step is done when Replyco saves the account. For the channel’s own instructions, see Add Account, for example Connect Amazon. When this step is done for the first time, the tour starts by itself, unless you took or skipped it already or your company pays through Shopify.
-
Take the tour with Take a Replyco tour.
The tour opens the sample ticket Welcome to Replyco! and points at one part of the screen at a time: the message status, the conversation, the customer and order details, then the Respond button. Select Respond yourself when the tour asks you to; it then shows the reply editor, the tags you can insert, Translate, the template list and the send button. It moves on to the Not Resolved ticket list and ends on ToolsAutomation, where the checklist opens again. Use Next and Back to move through it, Finish on the last step, or Skip Tour to stop; both finishing and stopping mark the step as done. To take the tour again, select the step in the checklist at any time.
-
Save your first template with Add a template.
Select the step: Replyco opens the Templates tab of ToolsAutomation. Select Create New, give the template a name and a text, and save it. Any new template completes the step, including one you save from a reply with Save Reply as a Template. To write good templates, see Reply templates.
-
Set up your first rule with Create a rule.
Select the step: Replyco opens the Rules tab. Select Create New, set a condition and an action, for example the ticket comes from your Amazon account → assign it to Laura, and save. See Rules for incoming tickets.
-
Set up your first auto-response with Create an auto-response.
Select the step: Replyco opens the Auto-response Rules tab. Select Create New, choose the template to send and when to send it, for example outside your working hours, and save. See Auto-responses for tickets. Companies on an older plan without auto-responses do not have this tab; they skip the step.
-
(Optional) Skip a step that does not apply to you.
Point at an open step: Skip appears to its right. Select it, and the step is marked as done without anything being created. A skipped step cannot be reopened.
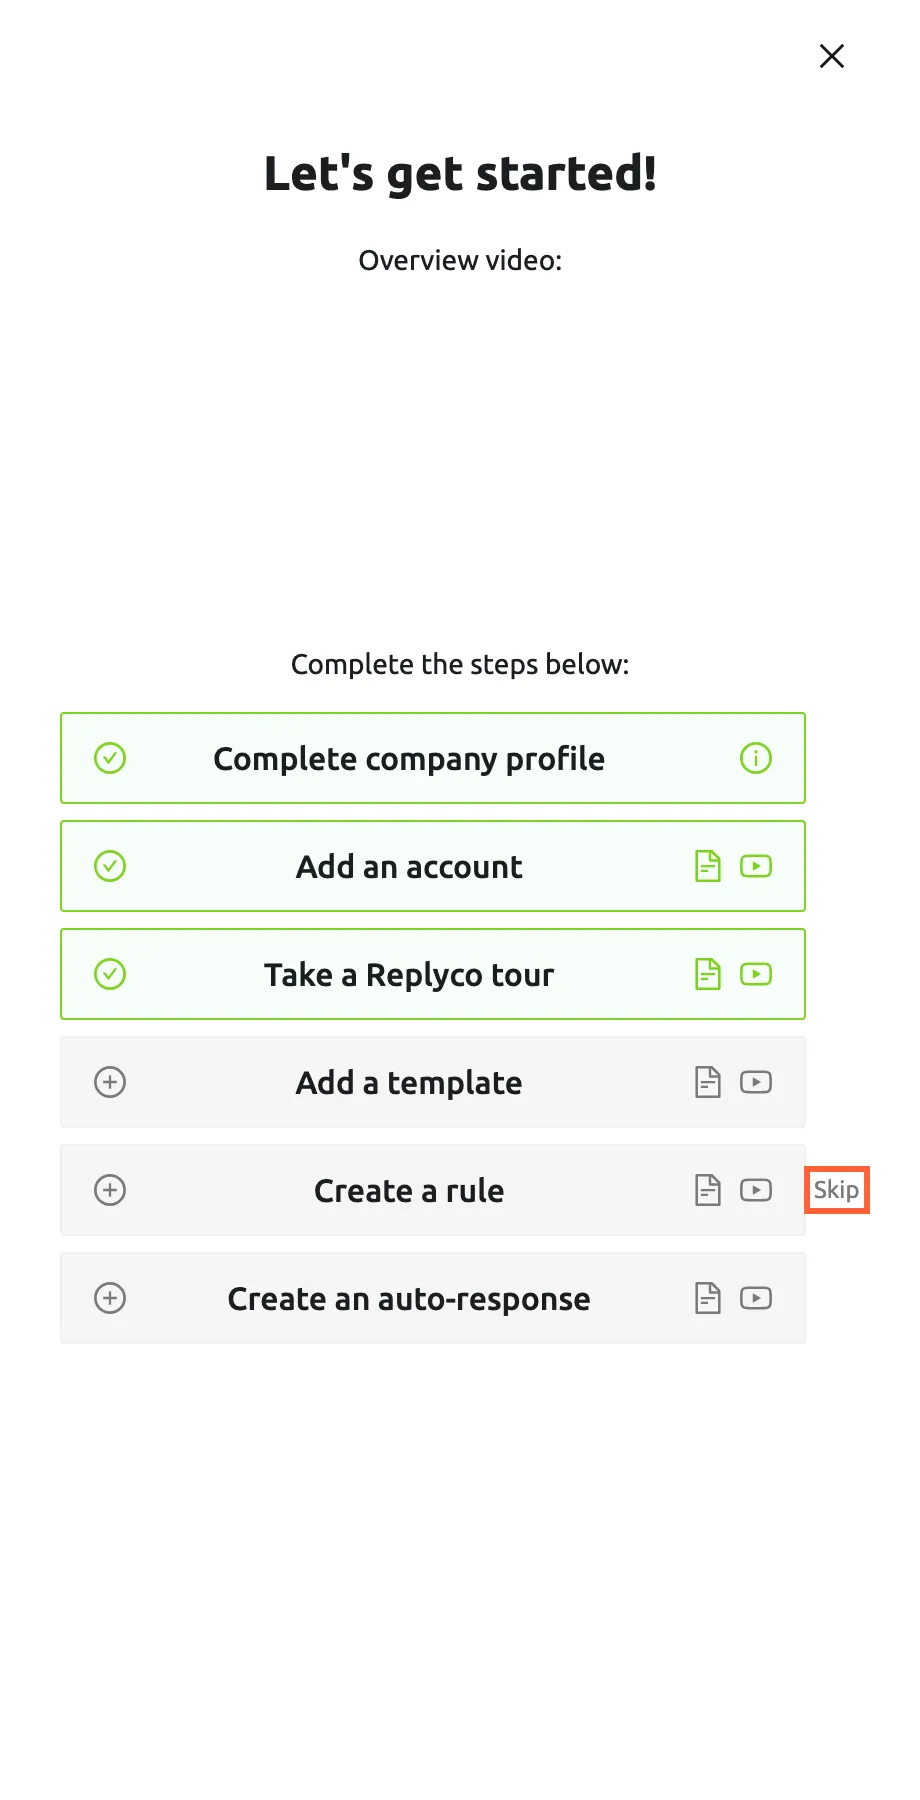
Point at an open step to show Skip; skipping marks the step as done. What this screenshot shows
- Screen
- Let's get started! (/)
- Highlighted
- link “Skip”, drawer-right, shown on hover. marks the step as done
- Also visible
- Create a rule under the pointer; done steps in green
- Purpose
- skipping a step that does not apply
What happens next
Section titled “What happens next”When the sixth step is done, the progress block disappears from the sidebar and Replyco opens your own start screen from then on, usually TicketsSmart Filters. To check, open the user menu under your avatar and select ONBOARDING CHECKLIST: all six steps are green. Nothing else changes: the template, the rule and the auto-response you created work like any others. Colleagues keep their own checklists; the company profile step is already green for them once your company’s details are saved.
Until your company has connected an account, or you have skipped that step, the start screen is the page for adding an account, and the ticket lists answer with Before you can open the Tickets tab, you need to first add an account. To find your way around the rest of the screen, see The Replyco screen; to set up Replyco for a whole team, see Set up Replyco for your team.
Options
Section titled “Options”| Choice | When to pick it | Effect |
|---|---|---|
| Let's get started in the welcome window | You want the guided tour after your first account | Opens the page for adding an account and the checklist; the tour starts once an account is connected |
| Skip in the welcome window | You know Replyco already | Same, but the tour is marked as done and does not start by itself |
| Skip on a step | The step does not apply, such as a mailbox you will not connect or auto-responses on an older plan without them | Marks the step as done; nothing is created |
| The page icon on a step, Read the help doc | You want to read about the step first | Opens a help article in a new browser tab |
| The video icon on a step, Watch the video | You prefer to watch | Plays a short video in a window |
If something goes wrong
Section titled “If something goes wrong”| Symptom | Check | Fix |
|---|---|---|
| Complete company profile stays grey, or its screen opens your start screen instead | Do you have the Admin permission with Edit rights? Without them, AdminCompany Settings does not open; ask a colleague who has them. On AdminCompany Settings: are the company name, street, city and country filled in, and is there a billing address or a tick in Use as Billing Address? Did you save both tabs? | Fill in the missing field and select Save; see Company Settings. |
| The step for auto-responses opens a screen without an auto-response tab | Every plan includes auto-responses; companies on an older plan may not have them. | Skip the step, or see What each plan includes. |
| The tour did not start after the first account | Was the tour already taken or skipped? Does your company pay through Shopify? | Select Take a Replyco tour in the checklist to start it. |