

Connect Telegram
Connect a Telegram bot and every message a customer sends to the bot arrives in Replyco as a chat; your replies go back to the customer in Telegram. Replyco connects to Telegram through a bot of your own: you create the bot with Telegram’s BotFather and paste the bot’s token into Replyco. There is no Telegram sign-in; the token is all Replyco needs, and the account in Replyco takes the bot’s username.
Before you start
Section titled “Before you start”| You need | Where it lives |
|---|---|
| The Admin permission in Replyco | AdminUsers; see Invite users and set what they can do |
| Telegram on the device you use to set up the bot | The Telegram app or Telegram Web |
| A bot and its token from BotFather, or the plan to create one in the steps below | @BotFather in Telegram |
| A free account on your plan | AdminBilling; see Billing |
Availability: every plan.
-
Select + Add Account in the top bar and scroll down to Social Media and Phone Accounts.
The Add Account page lists every channel Replyco connects; to connect another one, see Add Account.
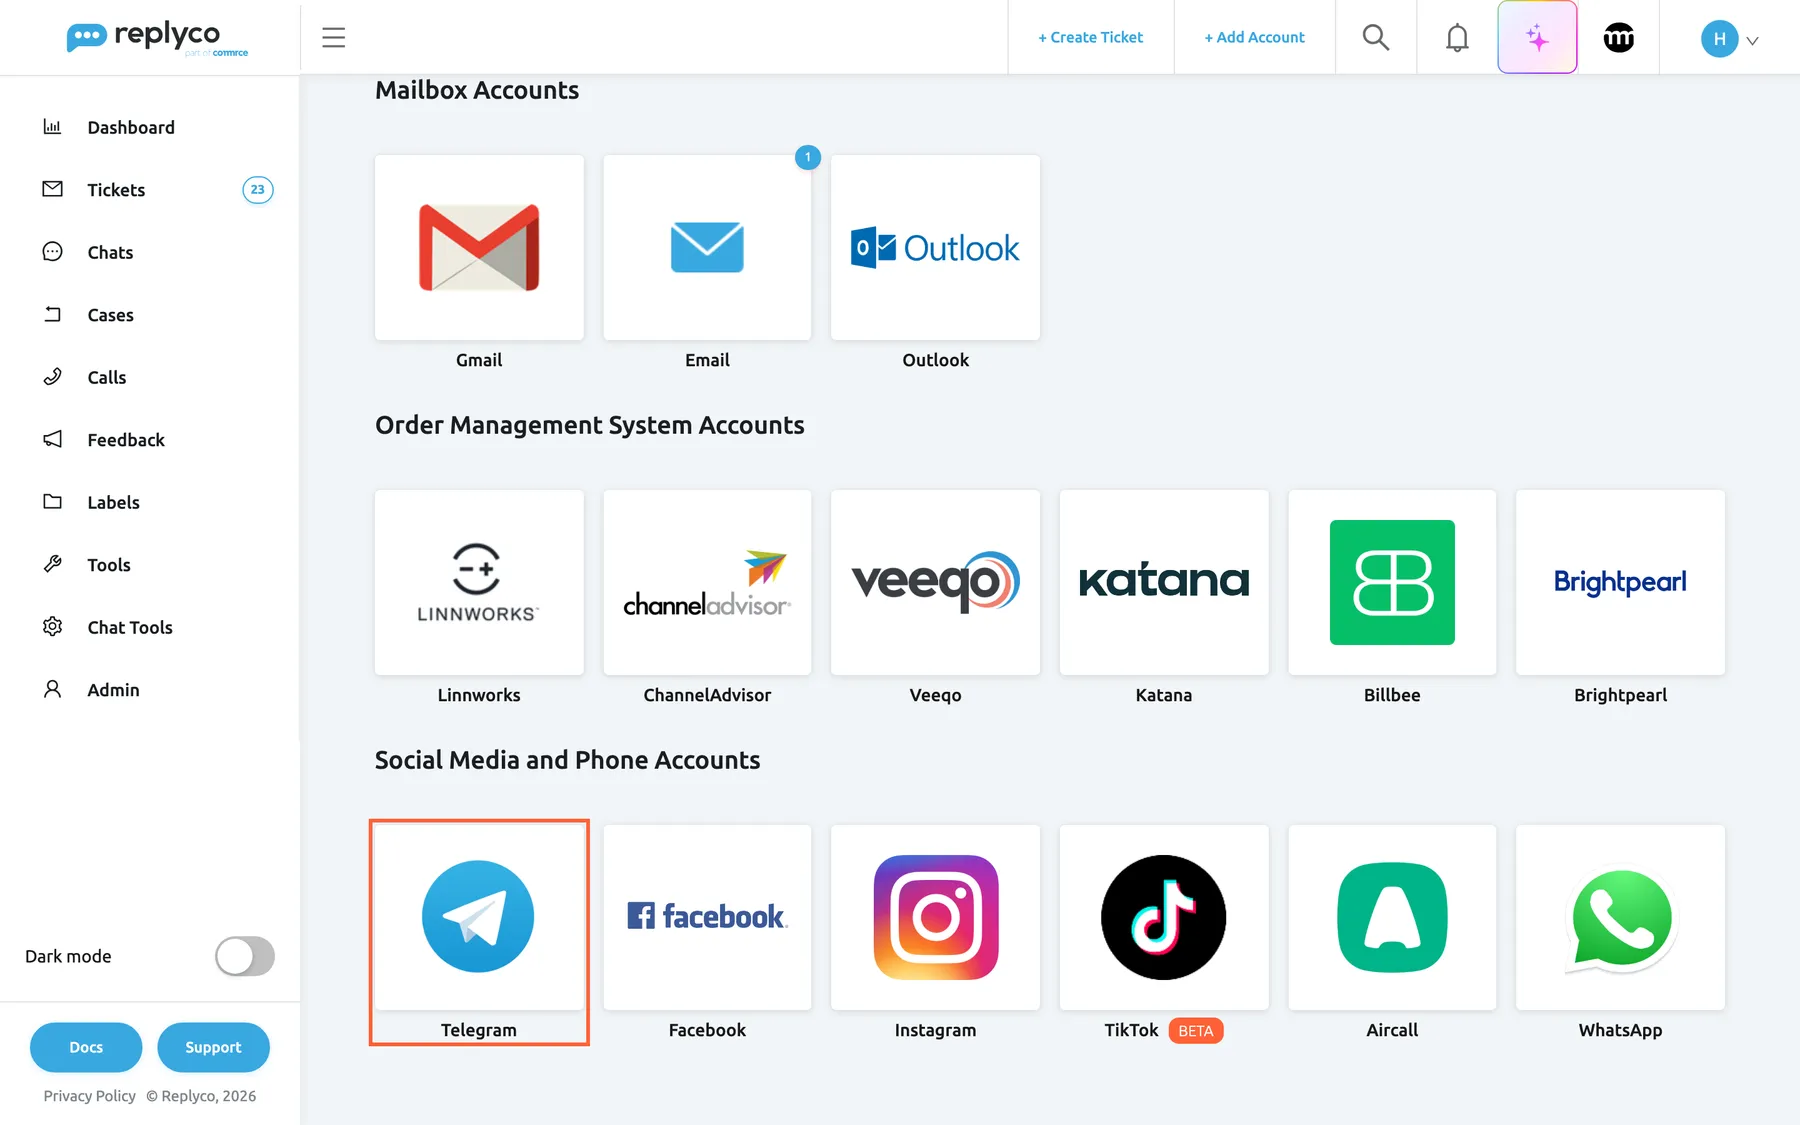
Telegram is the first tile under Social Media and Phone Accounts. What this screenshot shows
- Screen
- Add Account (/integrations/add)
- Highlighted
- button “”, social-media-and-phone-tiles, enabled. opens the Telegram connect dialog
- Also visible
- Mailbox Accounts and Order Management System Accounts above; Telegram, Facebook, Instagram, TikTok (BETA), Aircall, WhatsApp tiles
- Purpose
- start connecting a Telegram bot
-
Select the Telegram tile. The dialog Authorize Replyco to sync with Telegram opens at its first step, AUTHORIZE, which says Next, enter the details of your Telegram account. Select Authorize.
The dialog moves to INSERT DETAILS, with four numbered lines on how to create the bot and the HTTP API field.
-
In the first line, select link to open BotFather in Telegram. If your browser asks whether to open Telegram, select “Open Telegram”. Keep the Replyco tab open: you finish the setup there.
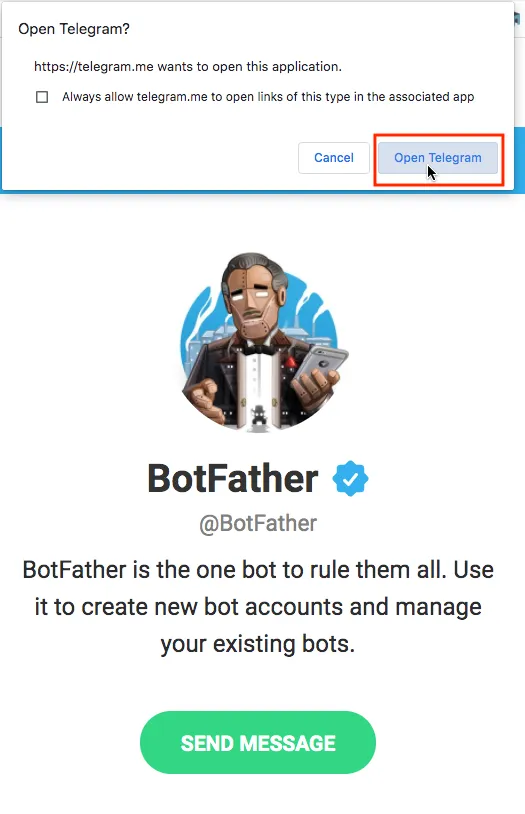
When your browser asks, select "Open Telegram" to open the chat with BotFather in the Telegram app. What this screenshot shows
- Screen
- ()
- Highlighted
- “”, , .
- Also visible
- Open Telegram? prompt; Cancel; Open Telegram, framed in red; BotFather page with SEND MESSAGE
- Purpose
In the chat with BotFather, select “Start” and send
/newbot.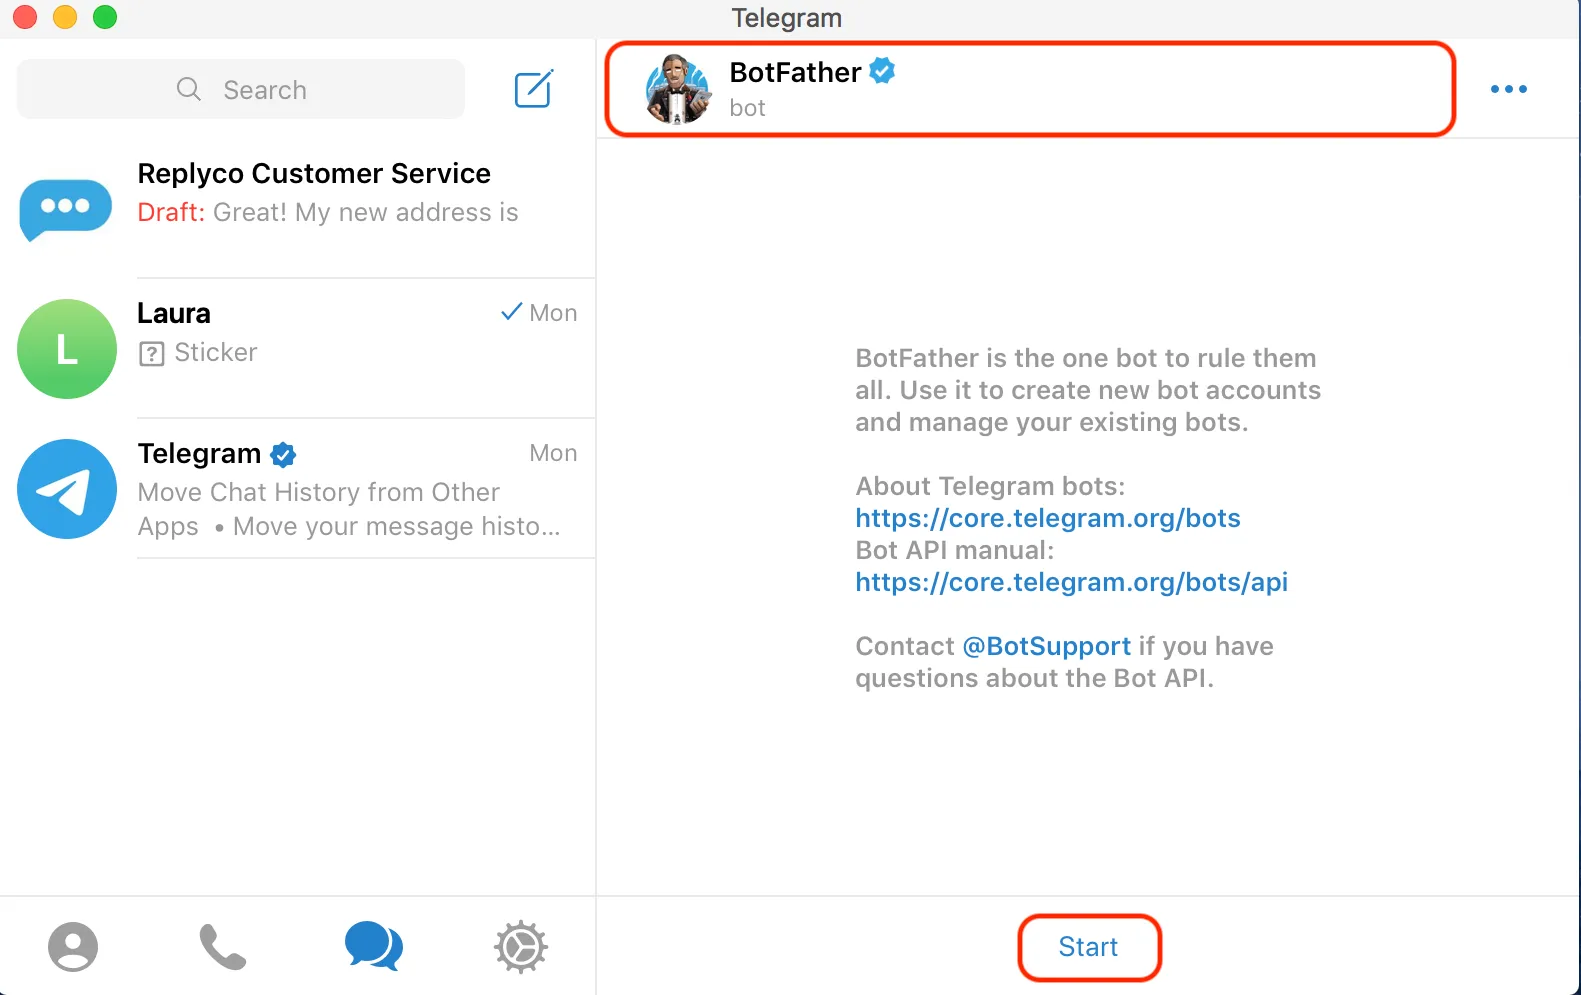
In the chat with BotFather, select "Start", then send /newbot. What this screenshot shows
- Screen
- ()
- Highlighted
- “”, , .
- Also visible
- BotFather bot header, framed in red; BotFather's description and links; Start button, framed in red
- Purpose
Answer BotFather’s questions: the bot’s name, which customers see, and its username, which must end in “bot”. BotFather then replies with the bot’s token, a long string of digits, a colon and letters. Copy it. Choose a username your customers recognise: it is how they find the bot in Telegram, and it becomes the account’s name in Replyco.
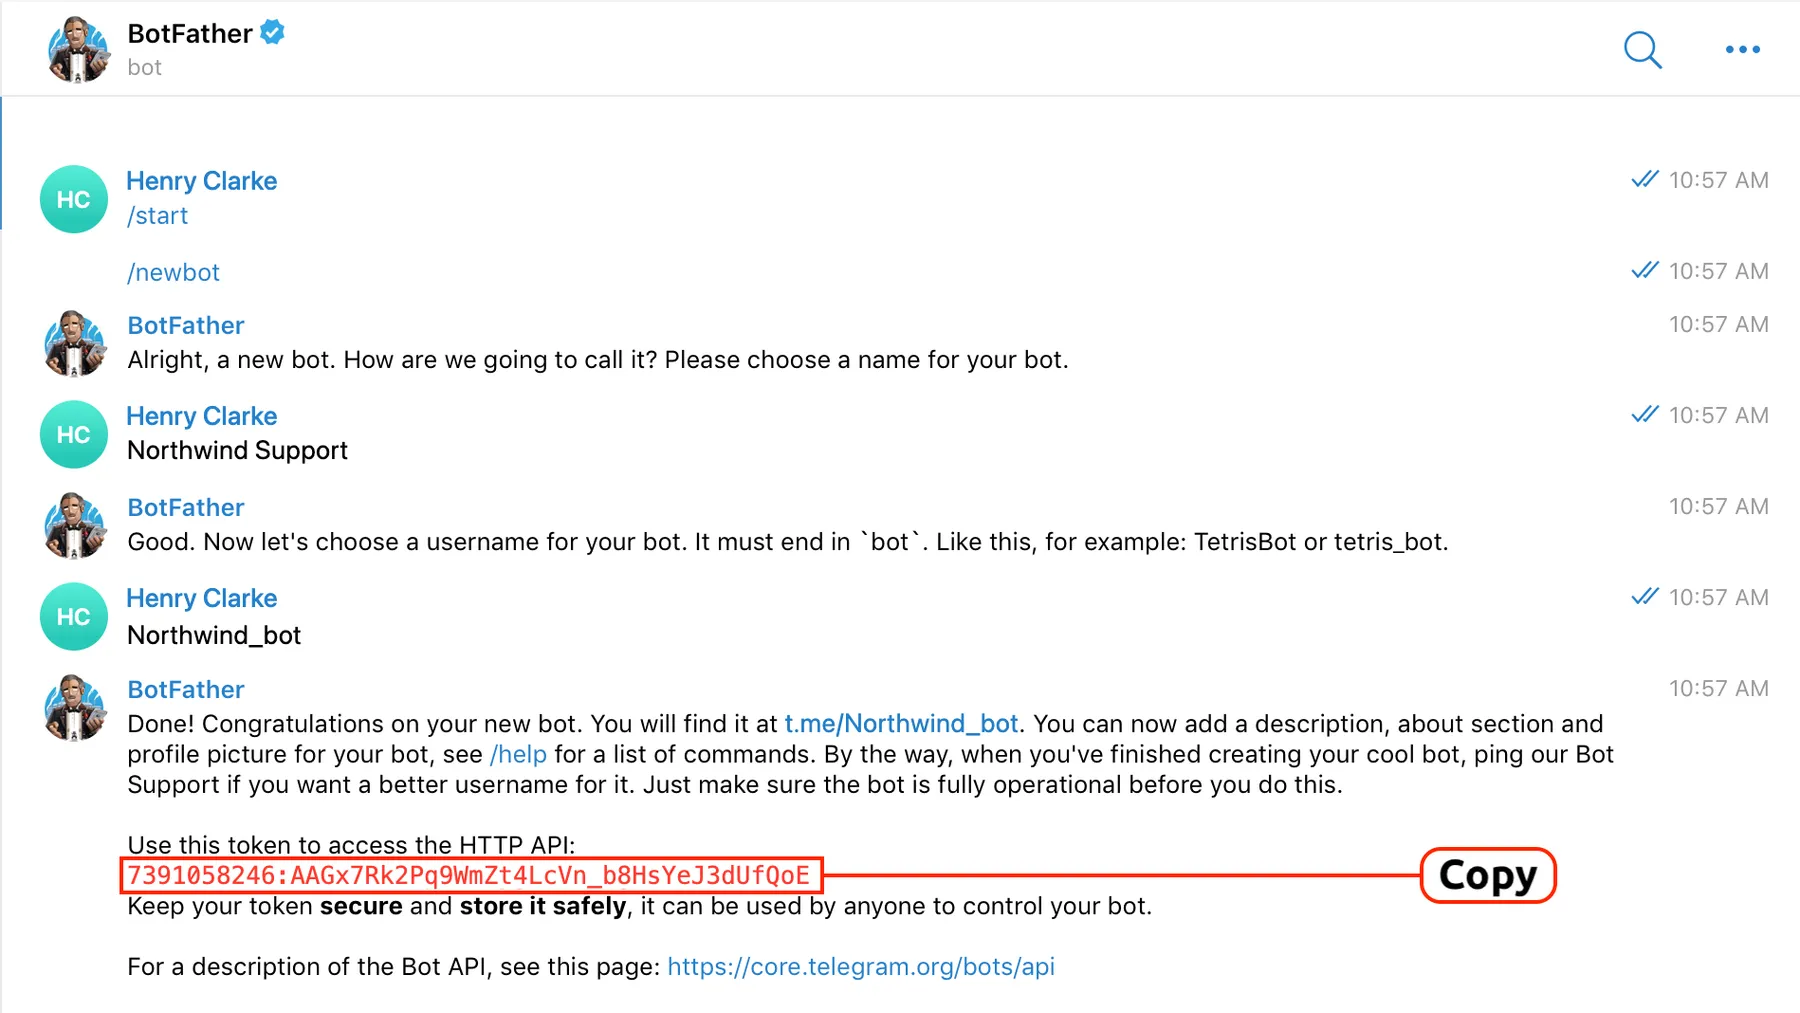
BotFather asks for the bot's name and username, then sends the token you paste into Replyco. What this screenshot shows
- Screen
- ()
- Highlighted
- “”, , .
- Also visible
- name and username questions; Done! Congratulations on your new bot.; Use this token to access the HTTP API:; token framed in red, labelled Copy
- Purpose
-
Back in the dialog, paste the token into HTTP API and select Authorize.
Replyco checks the token with Telegram, saves the account and confirms with Account successfully saved. The dialog moves on to FINISH.
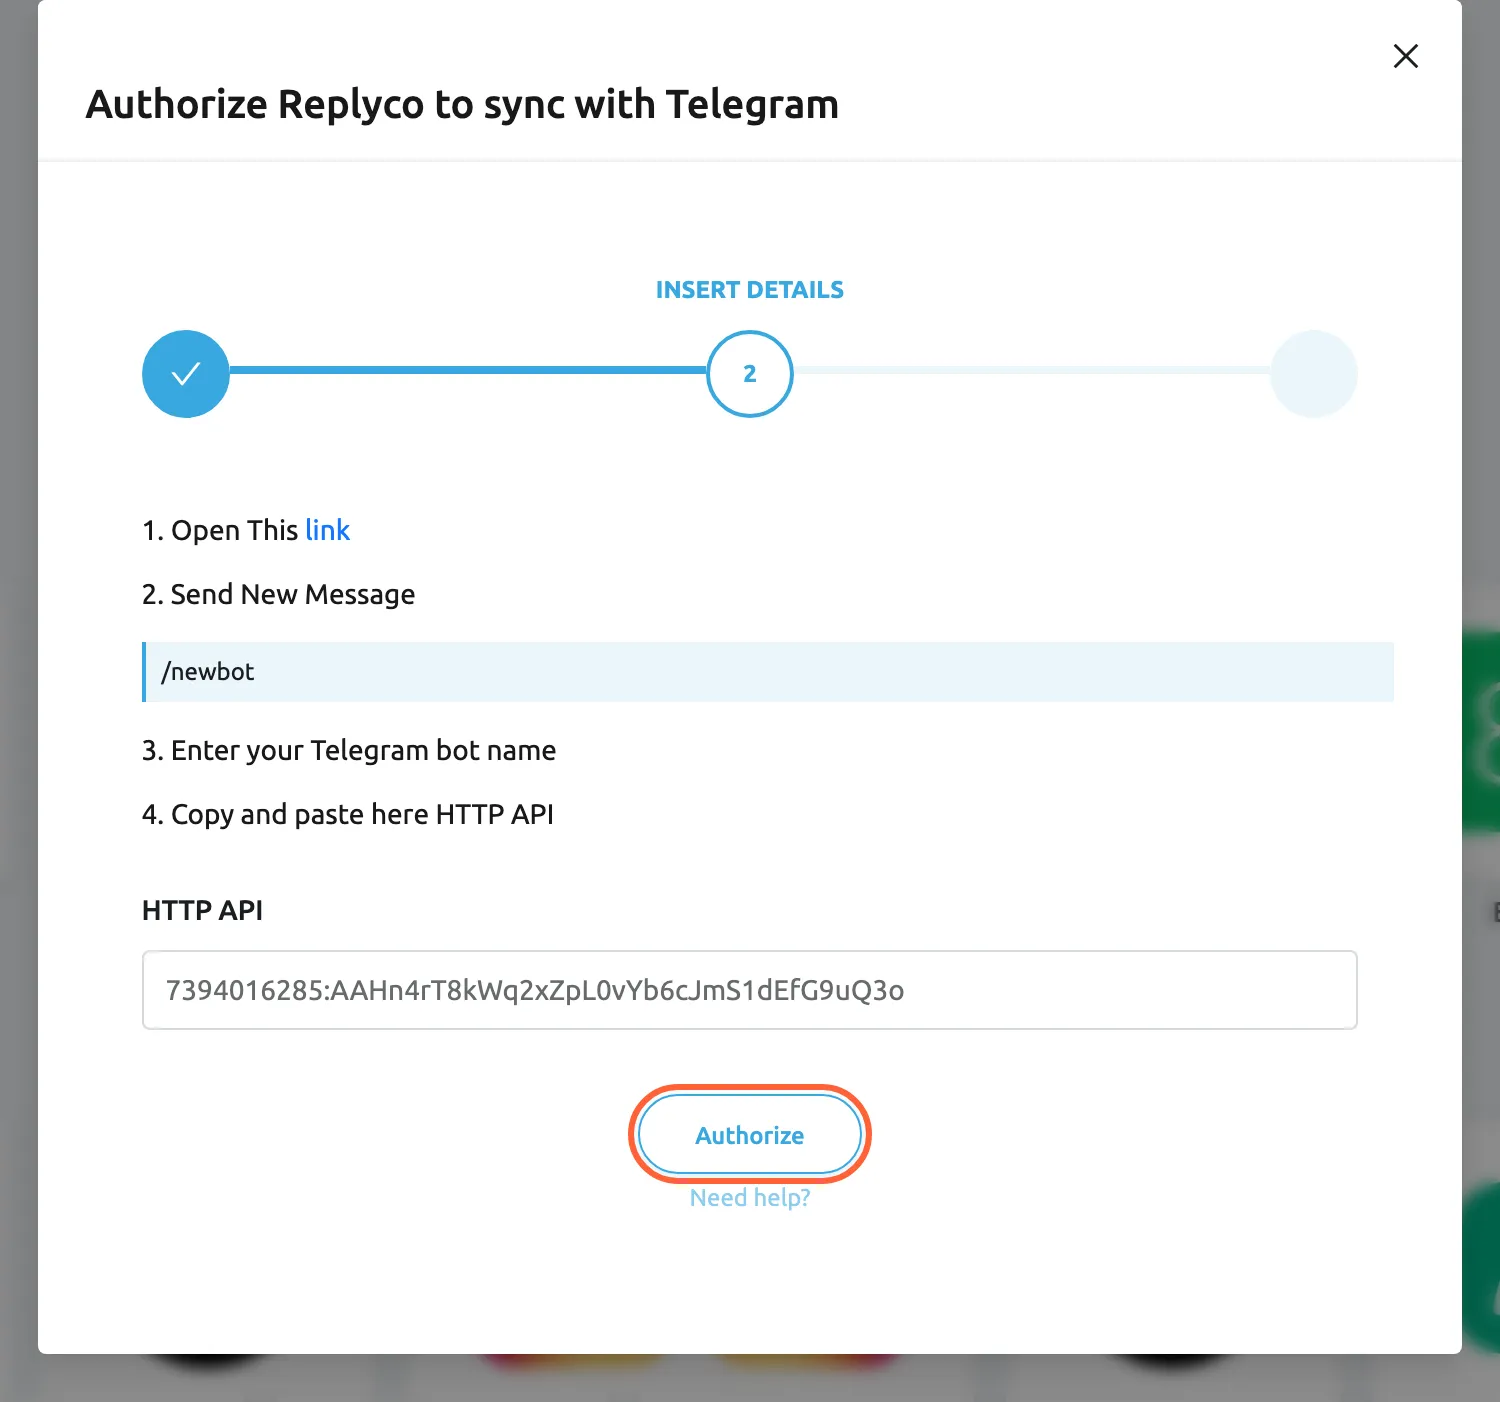
Paste the token BotFather gave you into HTTP API and select Authorize. What this screenshot shows
- Screen
- Authorize Replyco to sync with {{name}} (/integrations/add)
- Highlighted
- button “Authorize”, dialog-bottom, enabled. checks the token and saves the Telegram account
- Also visible
- step INSERT DETAILS of three; 1. Open This link (BotFather); /newbot; HTTP API: 7394016285:AAHn4rT8kWq2xZpL0vYb6cJmS1dEfG9uQ3o
- Purpose
- enter the bot token
-
Select Finish to close the dialog.
What happens next
Section titled “What happens next”The account appears on AdminAccounts under the bot’s username; to check it or rename it, see Accounts.
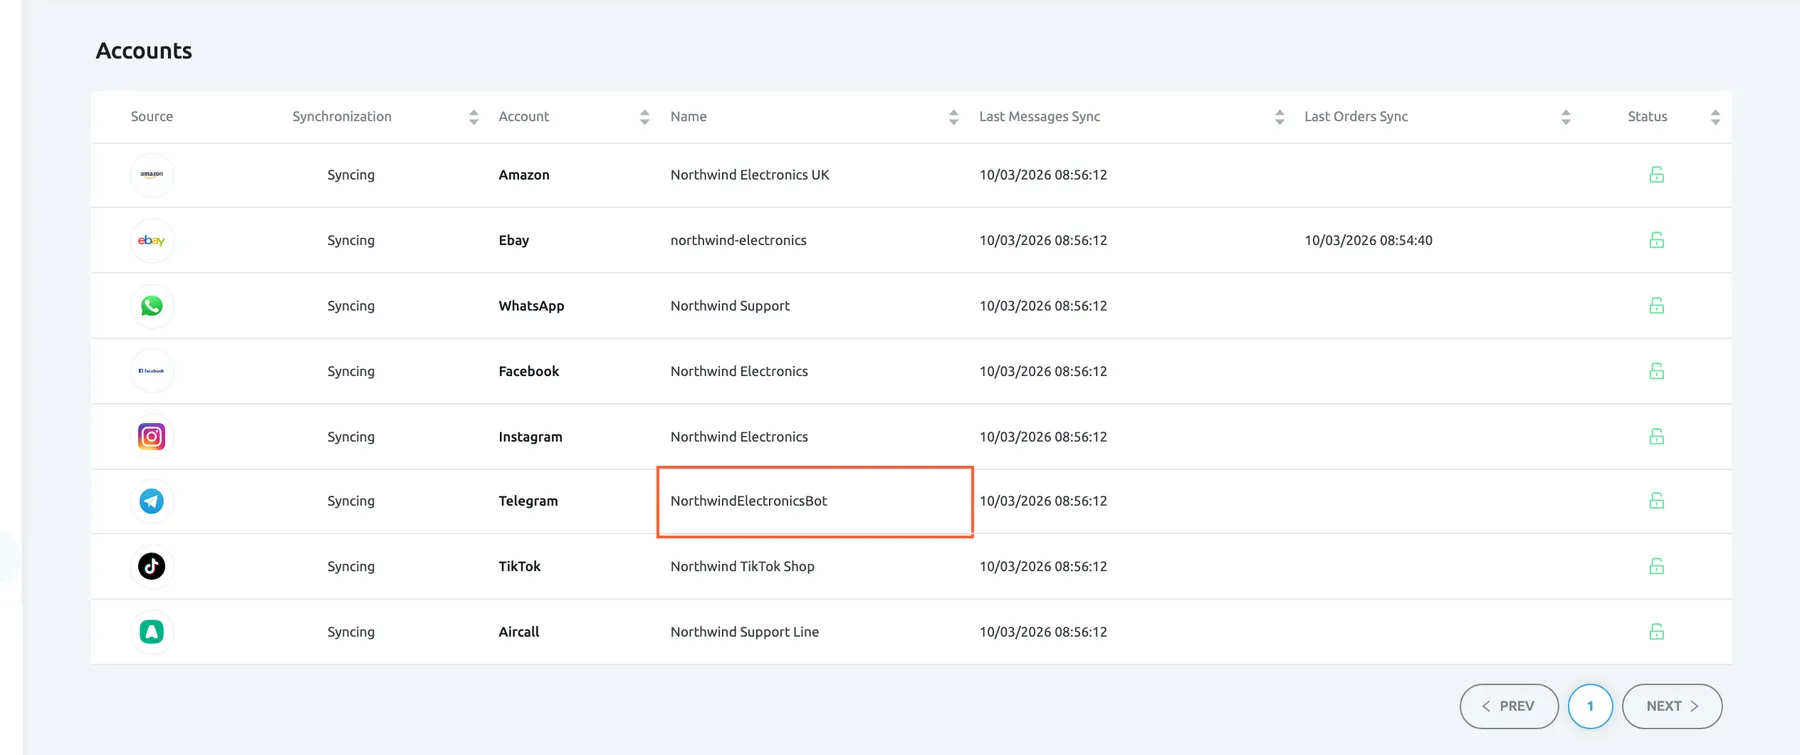
What this screenshot shows
- Screen
- Accounts (/integrations)
- Highlighted
- cell “”, table-sixth-row, enabled. opens the account's details
- Also visible
- 8 accounts, all Syncing, green open locks; Telegram row NorthwindElectronicsBot
- Purpose
- check that the Telegram bot was connected
From now on, every message a customer sends to the bot reaches Replyco as it arrives and opens or continues a chat under ChatsOpen; see Chat list and conversations. Customers find the bot by its username in Telegram, so share it where they look for you, for example on your website. Every user of your company gets access to the new account, so its chats appear for everyone with the Chats permission; to decide who is responsible for them, see Invite users and set what they can do.
Replyco sets no time limit for Telegram replies, and a message you edit or delete in Replyco changes in the customer’s Telegram too; see Answer a chat. To greet Telegram customers automatically, see Auto-responses for chats.
If something goes wrong
Section titled “If something goes wrong”| Symptom | Check | Fix |
|---|---|---|
| You must enter a token to save account! | The HTTP API field is empty. | Paste the token from BotFather, then select Authorize again. |
| An error appears after Authorize and no account is saved | Telegram did not accept the token: it is incomplete, has extra spaces, or belongs to a bot that was deleted. | Copy the token again from BotFather’s message and paste it whole. |
| The account is connected but no messages arrive | Do customers write to the bot whose username is on AdminAccounts? Does another service use the same bot? | Share that username with your customers. Keep the bot for Replyco alone; a bot shared with another service delivers its messages to only one of them. |
| “You reached your current plan maximum integrations count. Contact support for more info.” | Your plan has no free account; + Add Account is then also missing from the top bar. | Delete an account you no longer use, or change your plan on AdminBilling. |