

Getting started with Replyco
Replyco is a helpdesk for online sellers: every message your customers send through a marketplace, your webstore, your mailbox or a messenger arrives in one place as a ticket, next to the customer’s order, and your replies go back through the same channel. This section takes you from the first sign-up to a Replyco your whole team can work in: creating the company account, signing in, finding your way around the screen and preparing the settings a team needs.
Most people start in two steps. Whoever creates the account signs up, works through the onboarding checklist and connects the first channel with + Add Account; everyone else is invited from AdminUsers and signs in with their own e-mail address. After signing in, Replyco opens your start screen, usually TicketsSmart Filters, in the frame of menus and buttons that stays the same on every screen.
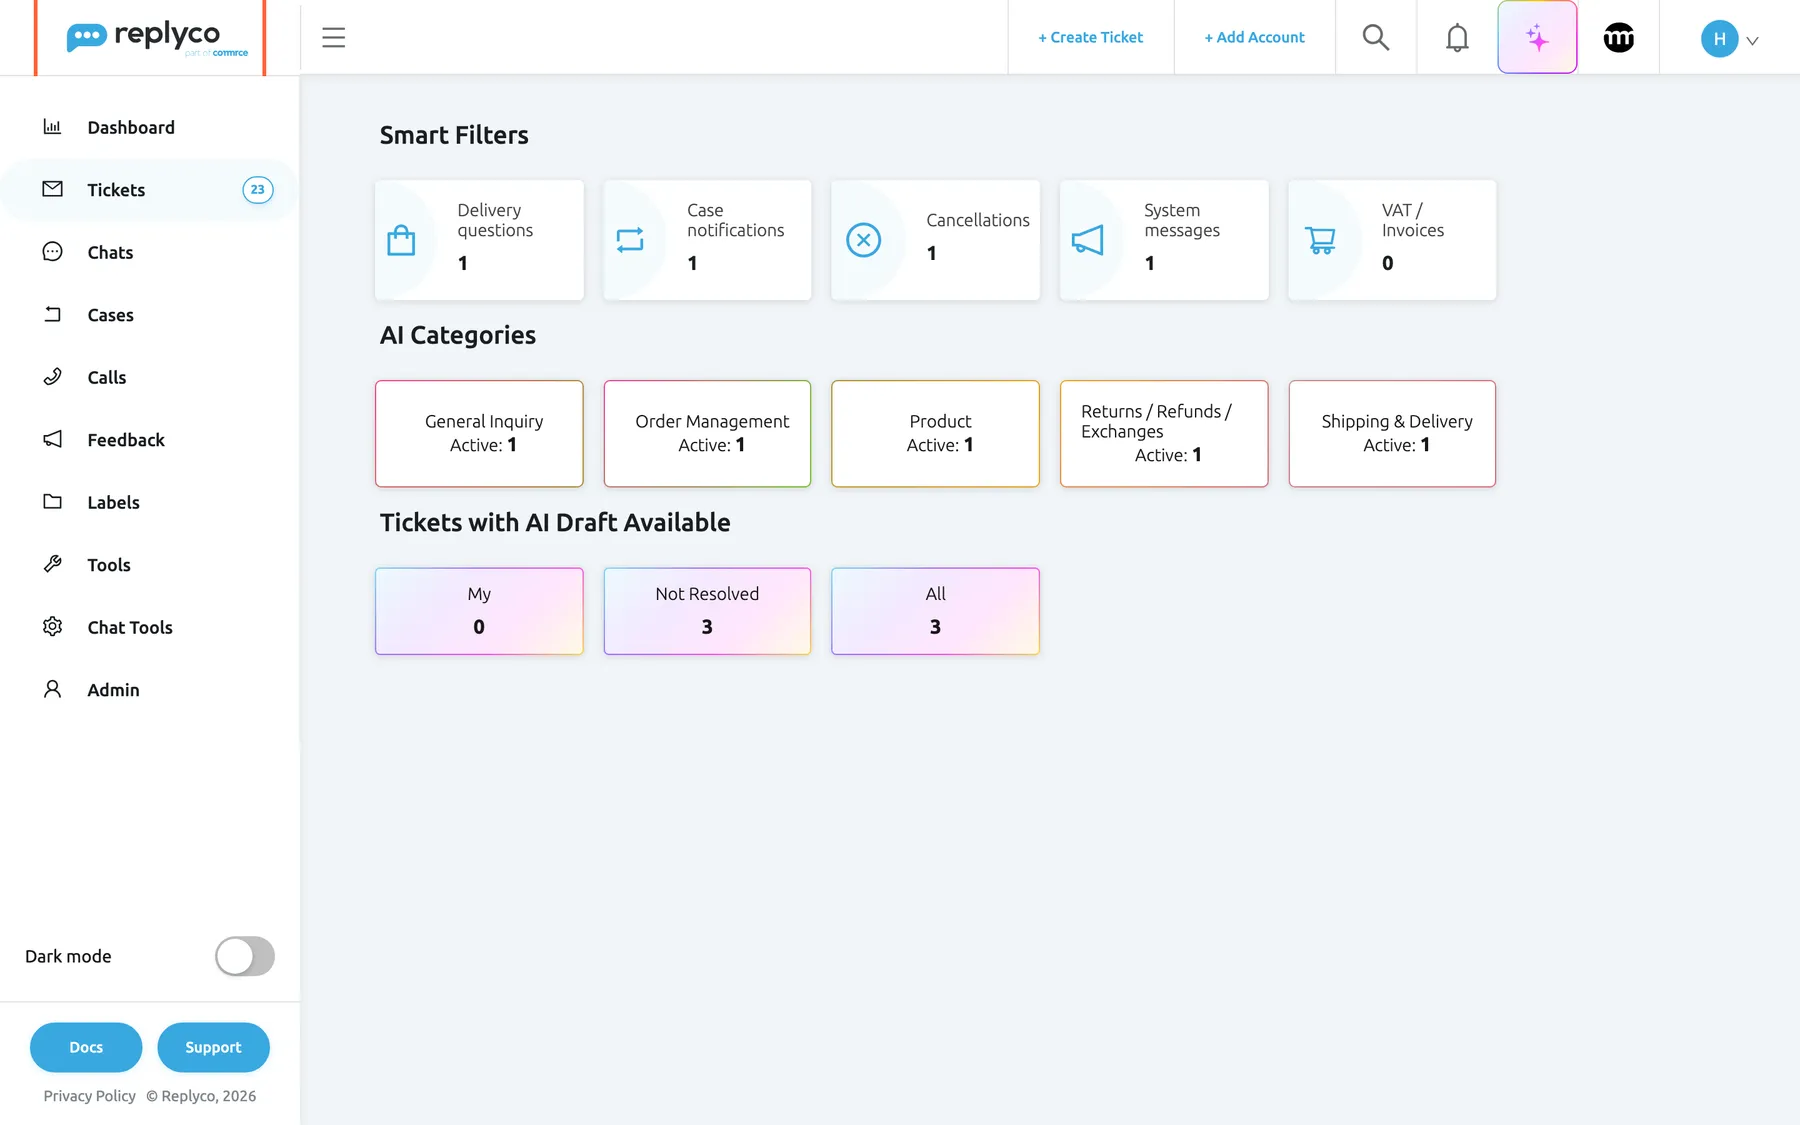
What this screenshot shows
- Screen
- Smart Filters (/)
- Highlighted
- link “Replyco”, sidebar-top, enabled. opens the start screen
- Also visible
- sidebar menu from Dashboard to Admin; top bar actions; Smart Filters start screen with filter, AI category and AI draft cards
- Purpose
- the first screen after signing in
The screens in this area
Section titled “The screens in this area”| Screen | What it is for |
|---|---|
| Sign up | Create your company’s Replyco account and start the trial |
| Sign in | Sign in, reset a forgotten password and use two-factor authentication |
| The Replyco screen | The sidebar, the top bar and the footer around every screen, and who sees which menu |
| Search | Find tickets, customers and orders from any screen |
What you can do here
Section titled “What you can do here”- Create your company’s account and start using Replyco. Sign up.
- Sign in, also with two-factor authentication, and get back in when you forget your password. Sign in.
- Find your way around: the menus, the top bar, notifications, dark mode and help. The Replyco screen.
- Finish the first set-up step by step, with a guided tour of a sample ticket. Complete the onboarding checklist.
- Prepare Replyco for a whole team: accounts, users, labels, priorities, automation, working time and AI. Set up Replyco for your team.
- Find any ticket, customer or order with one search box. Search.
Concepts
Section titled “Concepts”- User permissions and roles explains why colleagues can see different menus and screens.
- What each plan includes explains what every plan includes, and what companies on an older plan may not have.
Availability: every plan includes everything in this section. What each user sees depends on the permissions an admin gives them.